
Hi Sewing friends! Today, I have a cute new tutorial to share with you on how to make a reversible trick or treat bag. These are the perfect size for kids ages 4-10. They hold the perfect amount of candy and are easy to lay flat and store for next year. They are reversible too, so your child can choose what fabric they want to show from year to year. This quick project is a great way to use up some of the cute Halloween fabric yardage in your stash. It's a super simple bag that uses no interfacing and is quick to sew.
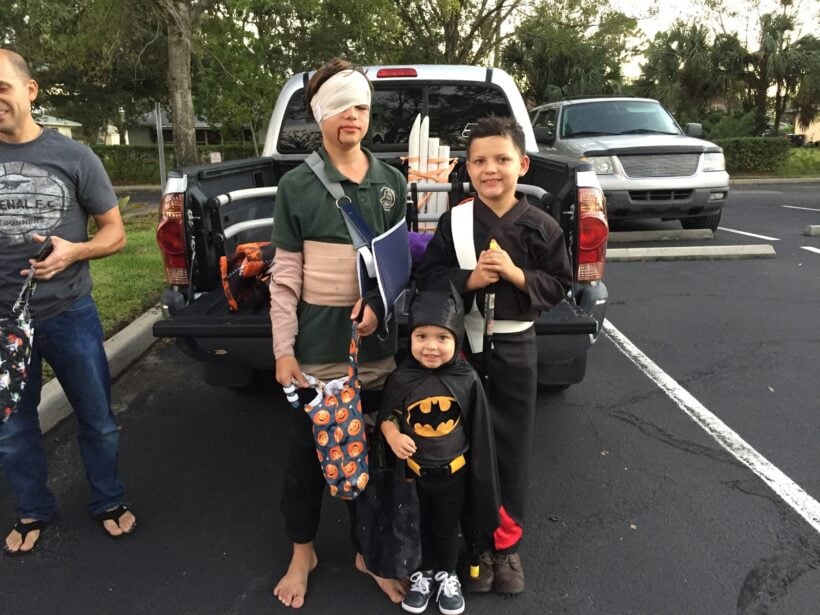
My kids have used these home made trick or treat bags for YEARS! Here are a few photos of them in action on Halloween night.

You can also find my kids using them in these posts...
Oh, and this little trick or treat bag doesn't have to be sewn up in Halloween fabric! You can sew it up in any fabric and use it anytime you need a simple bag. Use it for all kinds of things, like after-school activities, carrying quiet activities to church, or keeping a sewing project together on the go.
DIY Reversible Trick or Treat Bag Tutorial
Finished dimensions
10 1/2 " wide at the top x 11" tall x 4" deep
Supplies You'll Need:
- 1/2 yard Fabric #1
- 1/2 yard Fabric #2
Cutting Dimensions:
From Fabric #1 cut:
- 2 rectangles 12" x 14"
- 2 strips 2 1/2" x 16"
From Fabric #2 cut:
- 2 rectangles 12" x 14"
- 2 strips 2 1/2" x 16"
Trick or Treat Bag Sewing Instructions
1. Make a handle using one strip from each fabric, placing them with right sides together.
2. Sew down the sides of each set with a 1/2" seam allowance. Repeat for the 2nd handle.
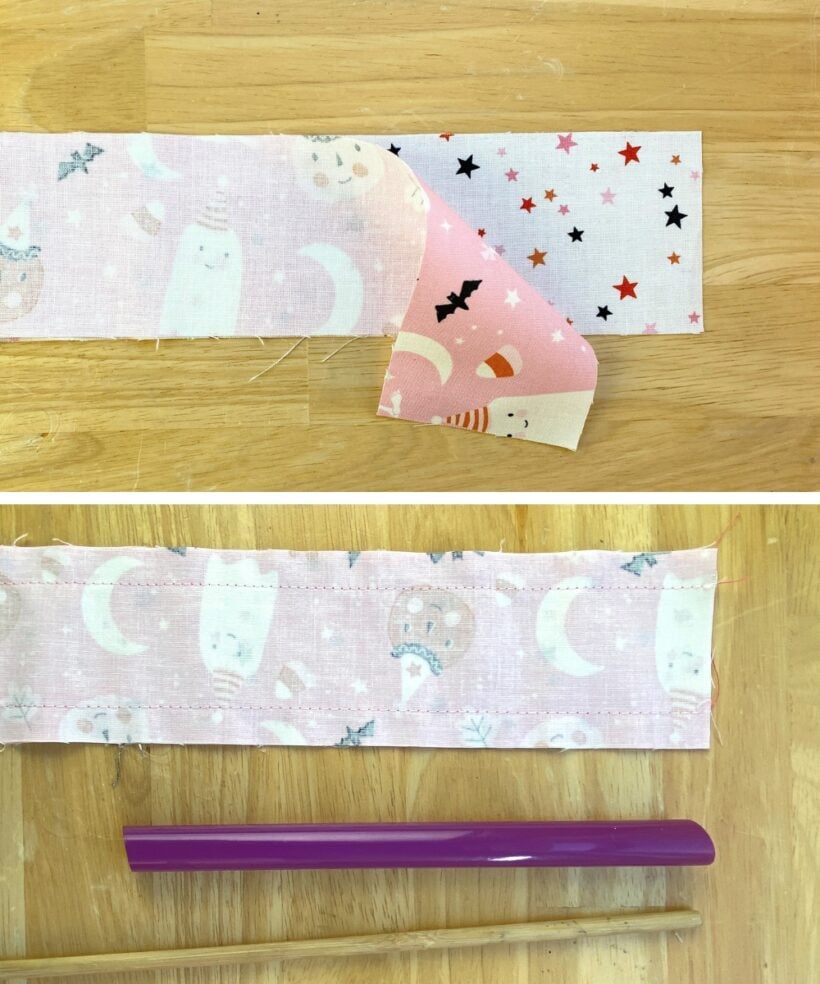
3. Using a turning tool, turn the handles right side out. Because both ends of the sewn strips are open, push the turning tube through the center all the way until about 2 inches from the end, and then push the stick down the middle.

4. Press the handle strip flat by rolling out the seam line and pressing one side at a time.

5. Topstitch along the sides of the handles about 1/8" away from the each edge.

6. Place the Fabric #1 rectangles with right sides together. Place the Fabric #2 rectangles with right sides together. Make sure the fabrics are going in the right direction if using a directional print.
7. Sew around the 2 long sides and the bottom. Leave a 3-inch opening in the side of one of the rectangles.

8. Cut out a 2" x 2" square from the bottom corners of each rectangle.


9. Separate the layers at the corner and match the seamlines, pressing the seam open with your fingers.
10. Sew the corner shut with a 1/2" seam allowance. Repeat for all of the cut corners.

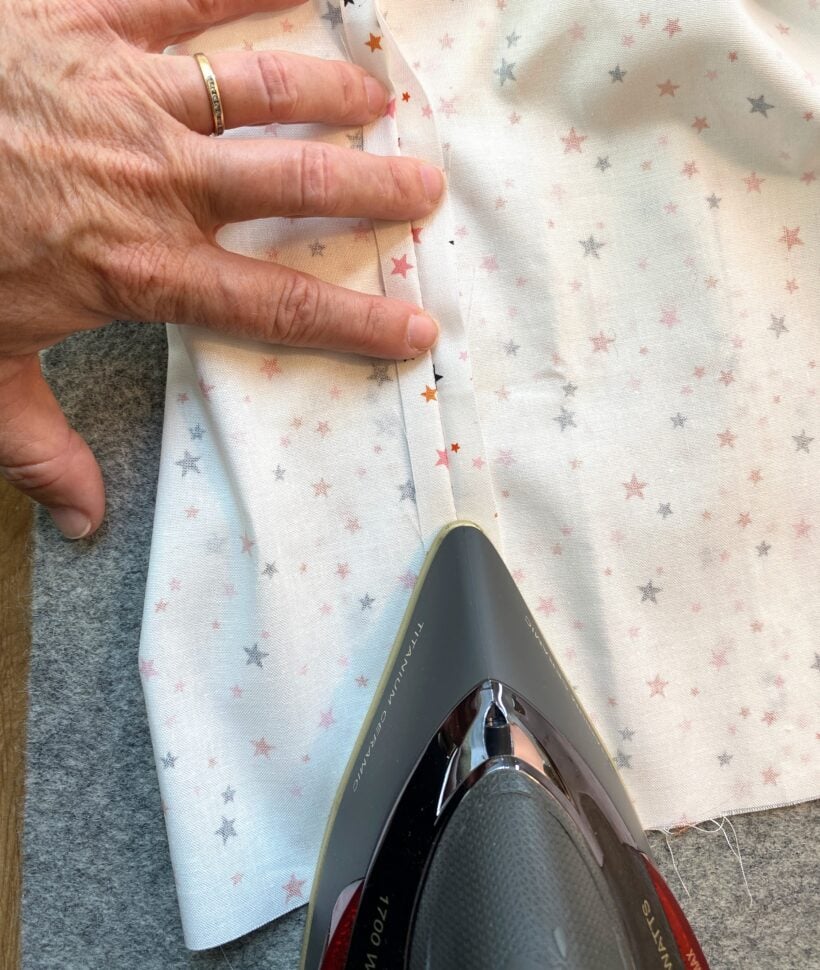
11. Press open the sides seams on each piece - including where the gap is for turning.
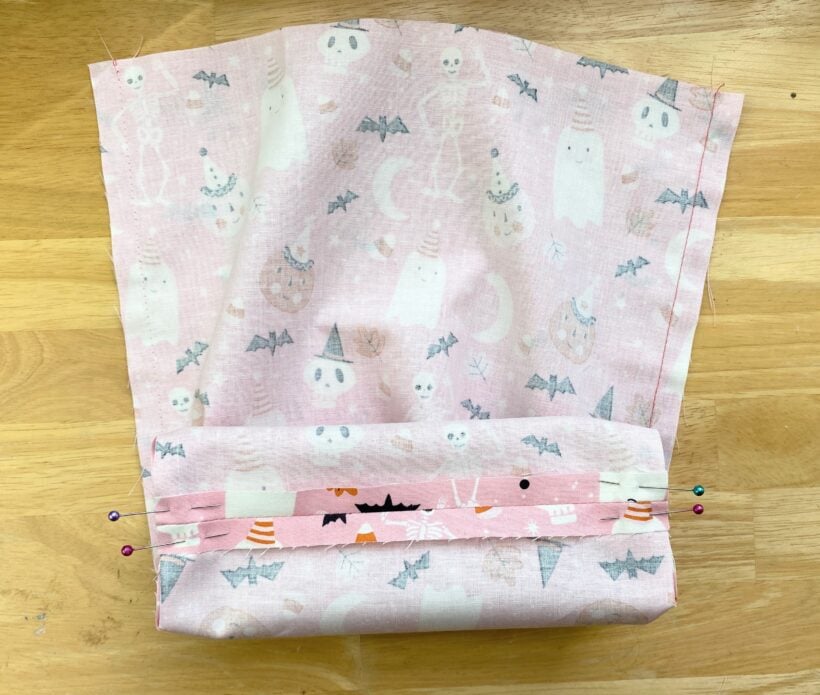
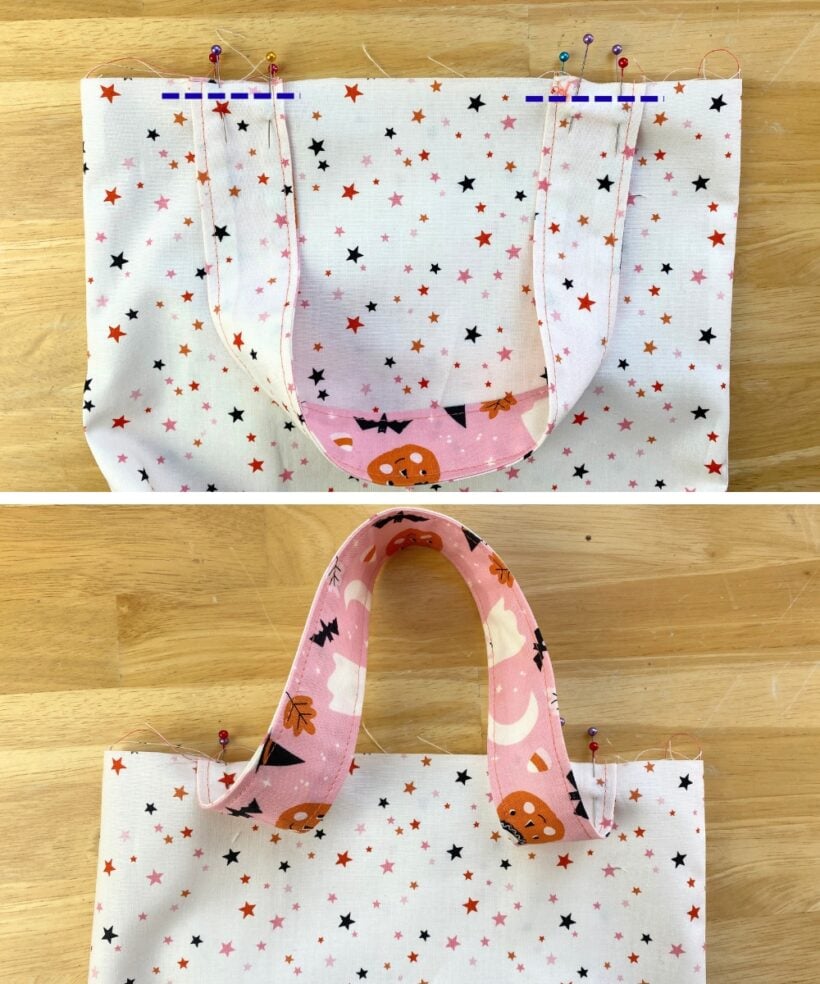
12. Turn one piece right side out and baste the handles to the top of each side. Position the handle about 2" away from the side seams. You can choose to match the fabrics or have the opposite fabric showing when finished. After pinning, lift the handle to make sure you have it the way you want it.
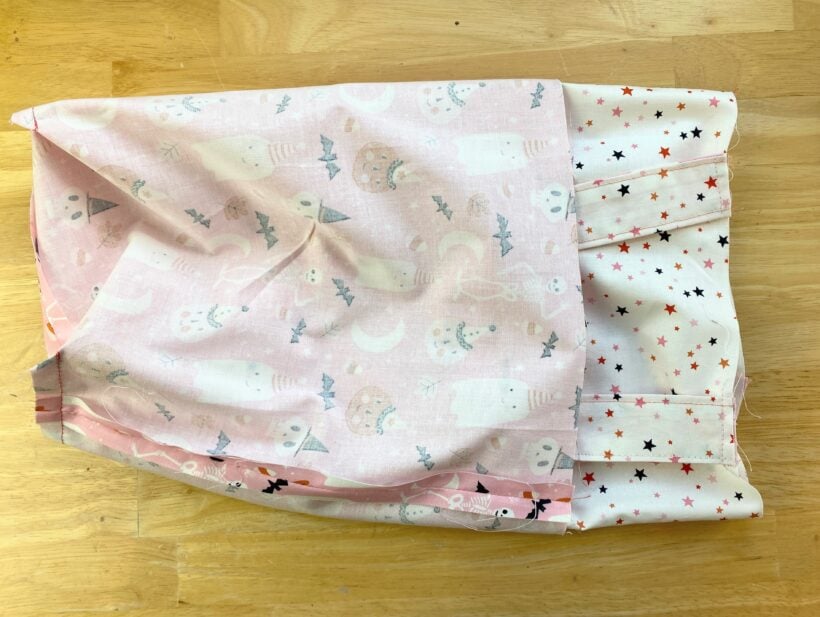
13. Slide the piece with the handles inside the other piece, making sure the right sides are facing each other.
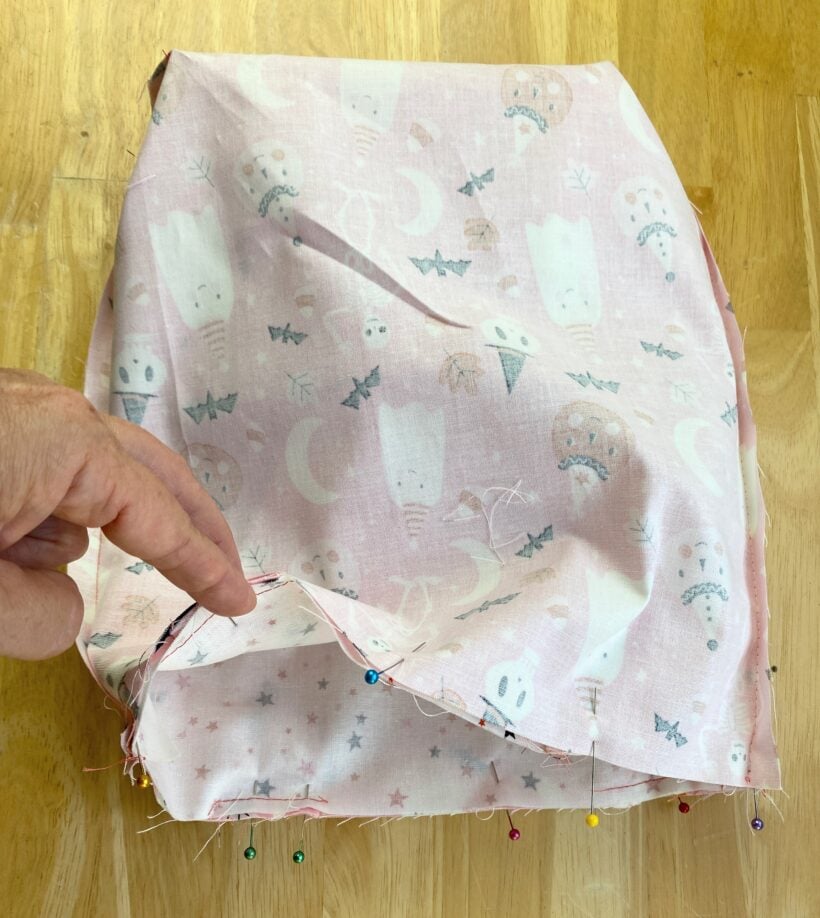
14. Match up the side seams and pin the two pieces together all the way around the opening.
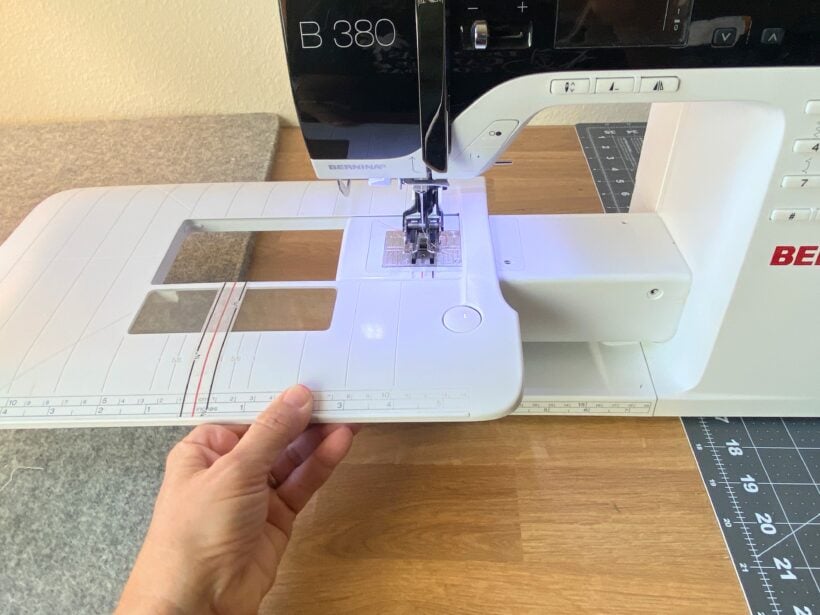
15. Sew around the opening with a 1/2" seam allowance. I think it's easier to sew around the opening and let the rest of the bag rotate under my machine. I slide off my table to expose the free arm as shown below. If you don't have a sewing machine that has a free arm, you can also position the bag so that you are sewing from the inside of the bag and let the rest of the bag rotate above the machine.
16. As you sew around the opening, backstitch over the handles a few times.

17. Turn the bag right side out through the opening.
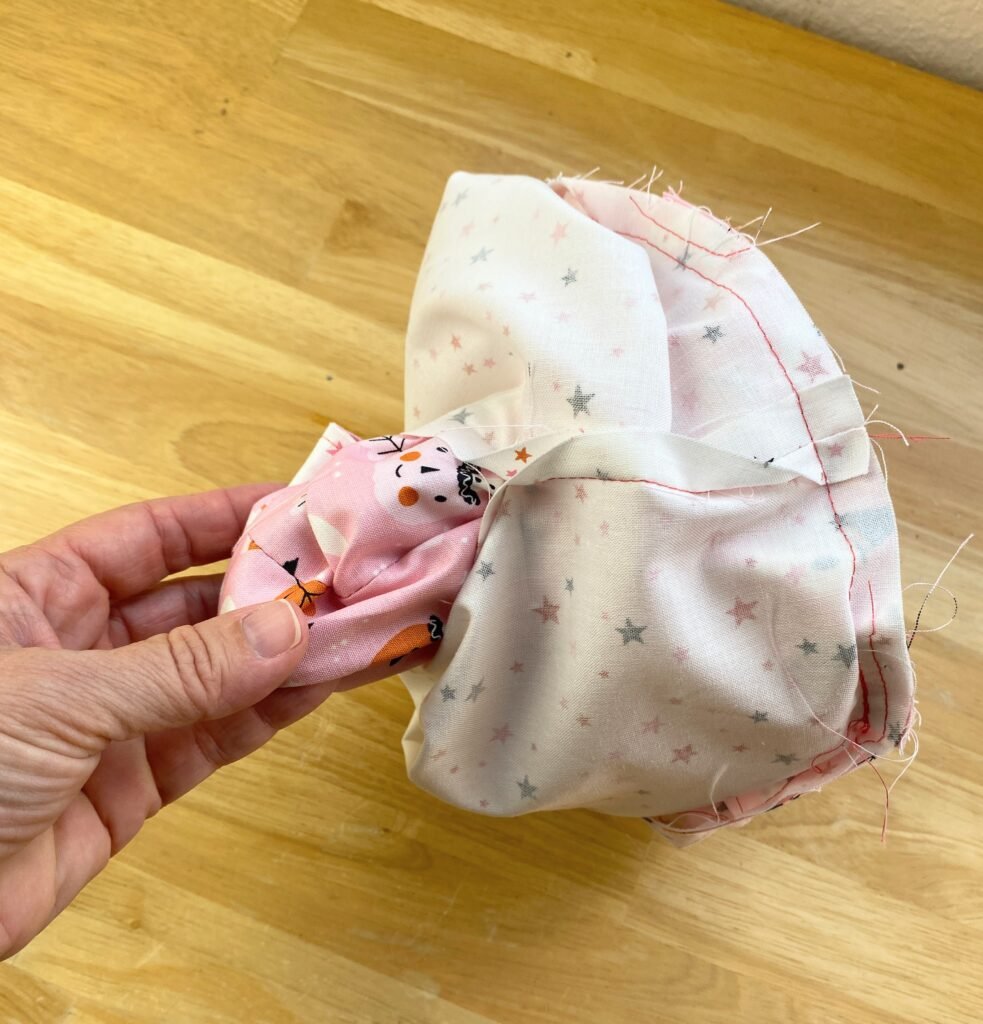
18. Work the seam line out and press around the opening.
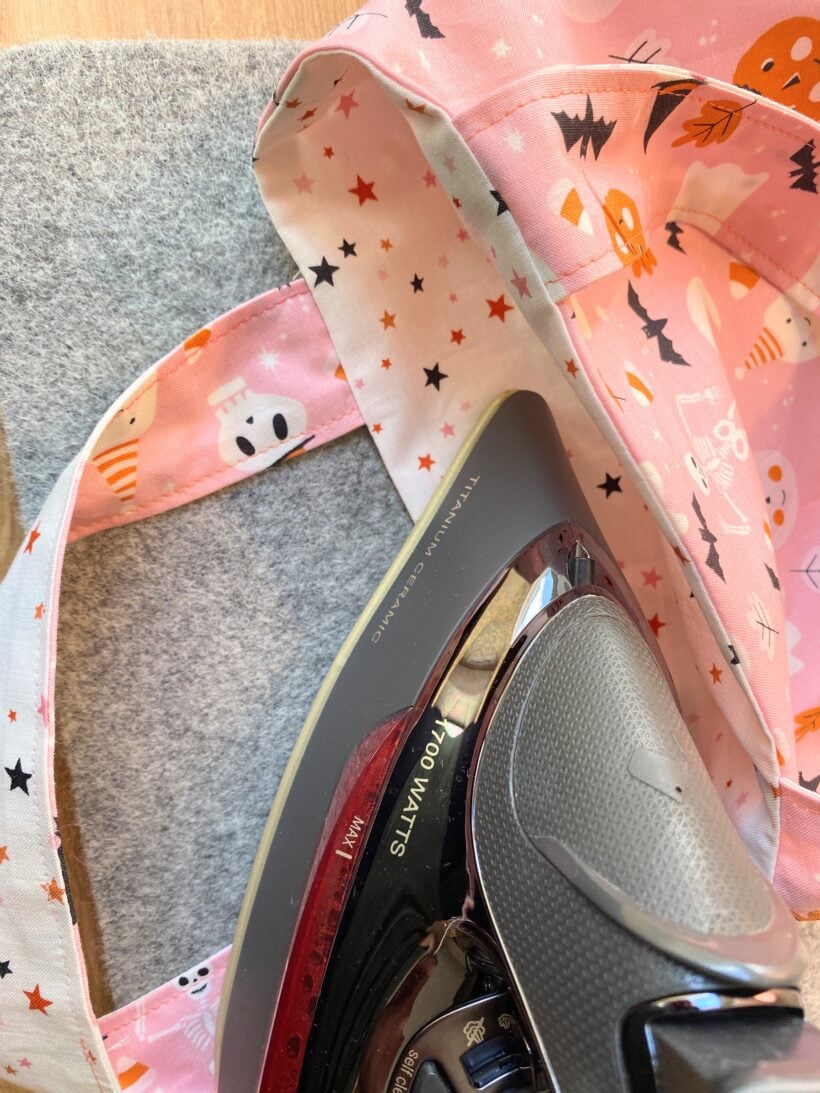
19. Topstitch around the pressed edge about 1/4" away from the edge.

20. Hand stitch the opening closed using a needle and thread.

And you are done!
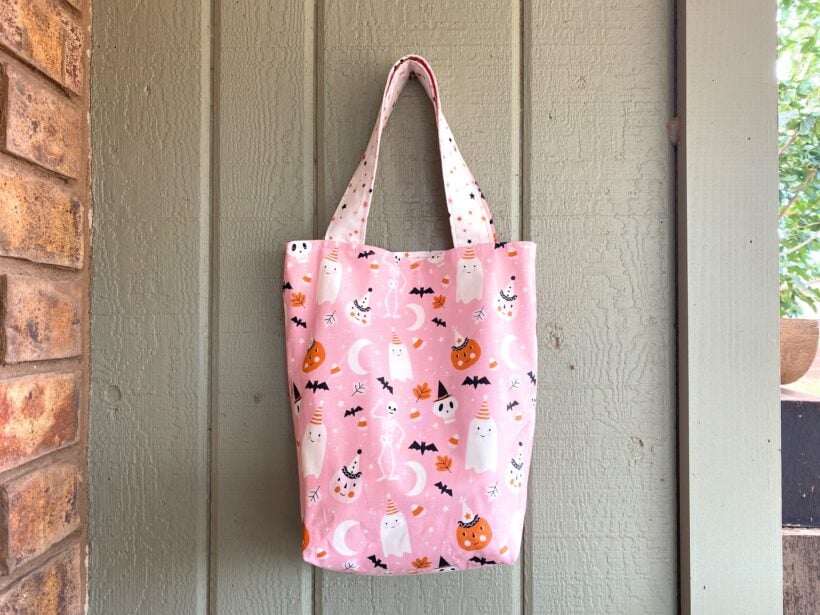
Now you have the perfect trick or treat bag that is easy to store and can be reused year over year. If you make one I'd love to see it! Pin this tutorial for later or share it with a friend.
Visit my HALLOWEEN PAGE for more Halloween sewing inspiration.
Happy Halloween Sewing!
