
Make your own Patriotic Bow Garland to celebrate red, white, and blue season! It's an easy peasy craft to to decorate for the 4th of July. I first saw this beautiful garland kit for sale at The House of Turnberry. Sadly the ribbon set was sold out. I decided that it was so cute it was worth trying to make my own. Of course their ribbons are gorgeous and I would love to have ordered theirs. Mine are from Walmart but I think the look is cute anyway you make it. Follow along to learn how so you can make some too!

Patriotic Bow Garland Tutorial
You'll need 3-4 bows of each color to make a 4-5 foot garland. Plan for more if you want to make it longer.
Supplies
- 1 Spool of Red ribbon (could be solid, or striped)
- 1 Spool of Blue ribbon (could be gingham, solid, or polkadot)
- 1 Spool of White ribbon (I'm using torn fabric from a Fat Quarter instead of ribbon)
- Needle and thread
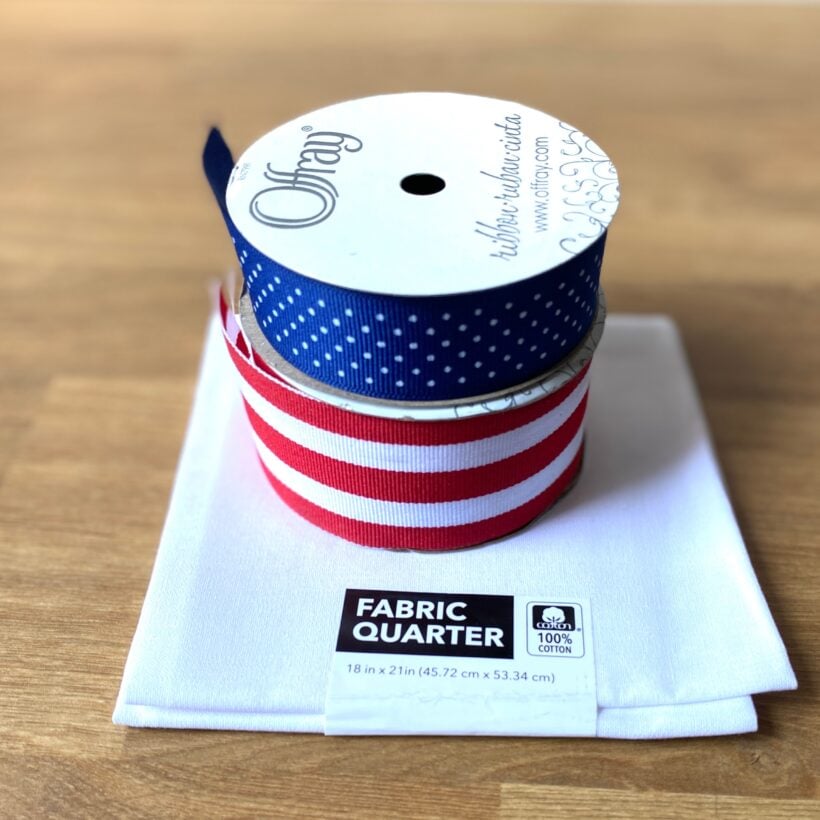
Find Fat Quarters at Walmart
I love the fringed white ribbon in the set sold at The House of Turnberry, so, to get the fringed look, I tore strips of white fabric from a Fat Quarter. A Fat Quarter is 1/4 yard of fabric sold in a 18" x 21"ish rectangle. My Walmart craft section has a whole wall of Fat Quarters to choose from.

Cut the Fabric and the Ribbon
Cut the fabric
Find the short (18") side of the fat quarter. Make small cuts in the fabric every 1 1/2".
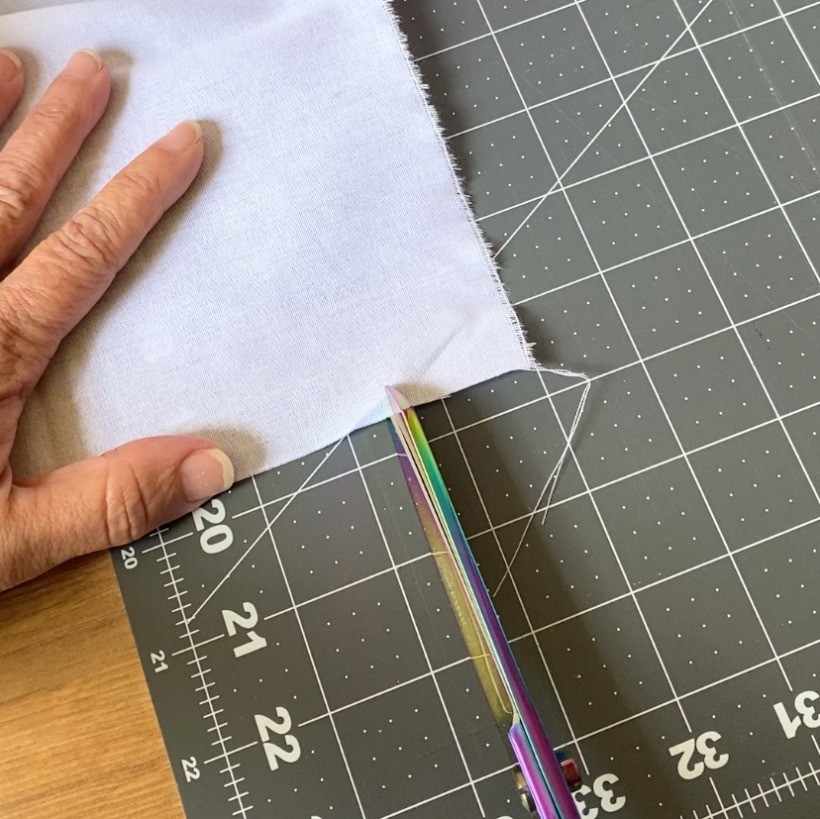
Grab the fabric on each side of the small cut and rip it apart to make a 1 1/2" x 21" strip of fabric.
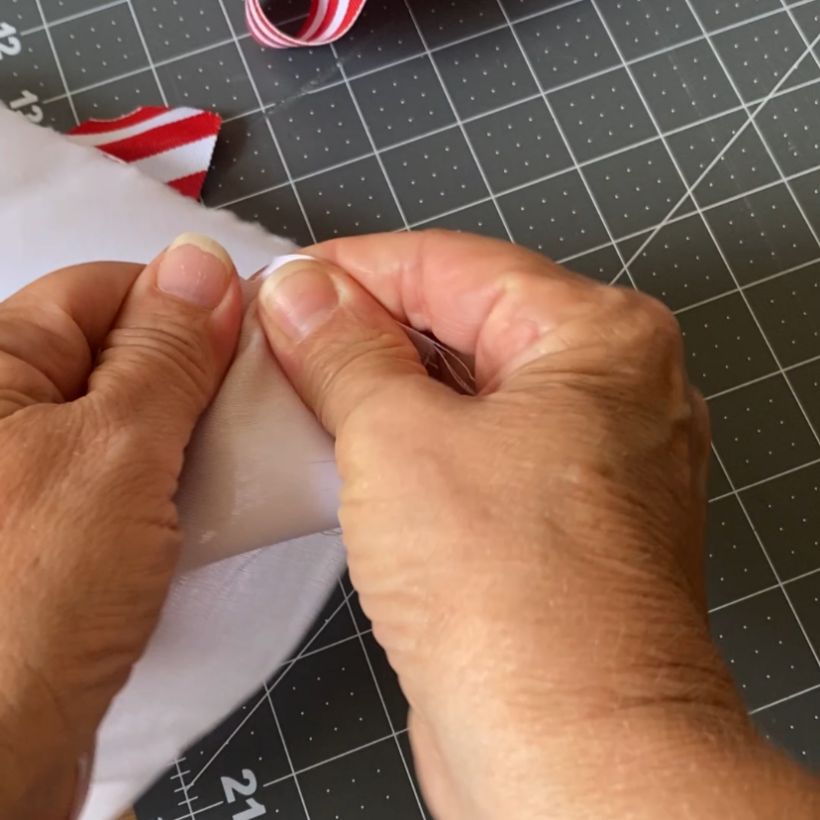
Pull off the stringing threads so the sides look fringed.

Press the strip to remove the wrinkles.

Cut the Ribbon
Cut the each ribbon piece to 21" - Because the length of my white fabric strip was 21" I chose to cut each ribbon piece to the same length. I suggest cutting them a little longer if using just ribbon spools. They would be easier to tie.
Tie the Ribbons into bows
Use whatever method you like best to tie each ribbon into bow. It will take some fiddling to get it right.

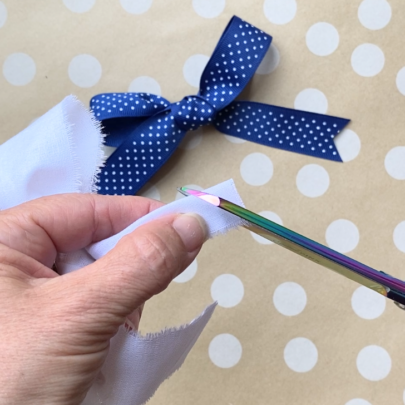
Once the bow is tied, trim each end to the same length. I like to fold the end in half and cut it at an angle to get a perfect little 2 pointed end.
Sew the Bows Together
Lay out the bows in order. Using a needle and thread, sew the bows together. To do this, thread a needle and tie a knot keeping both ends of the thread together. Lay two bow loops together. Push your needle up through the inside of one of the bows so that the knot is hidden.
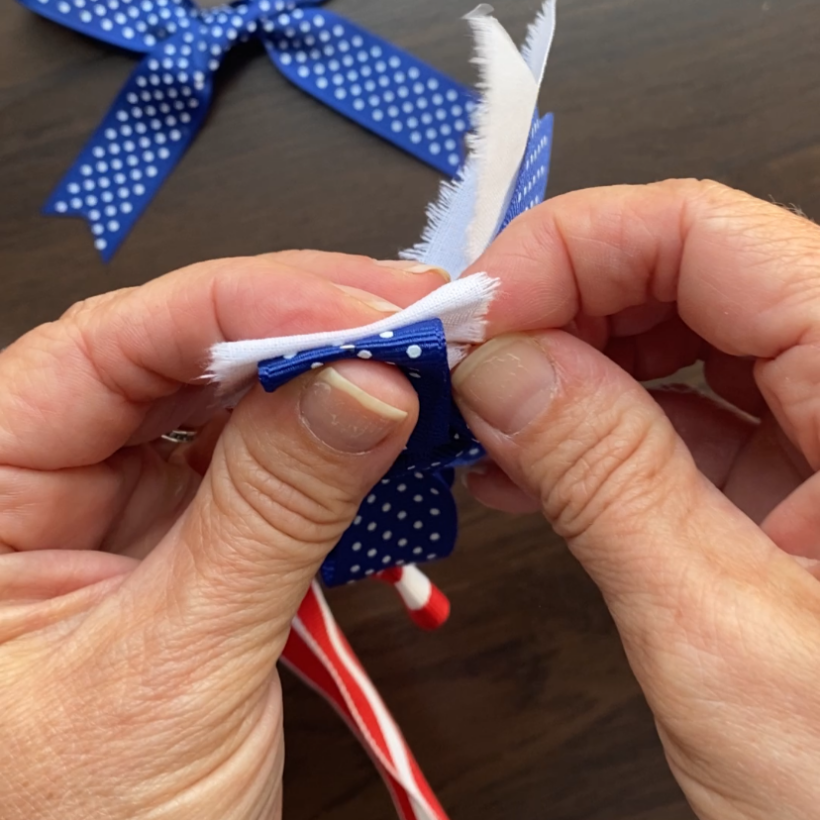
Stick the needle through both bows, catching just a little of each ribbon. Sew around and around in a whipstitch at the same place and then once or twice in the opposite direction to tie it off.
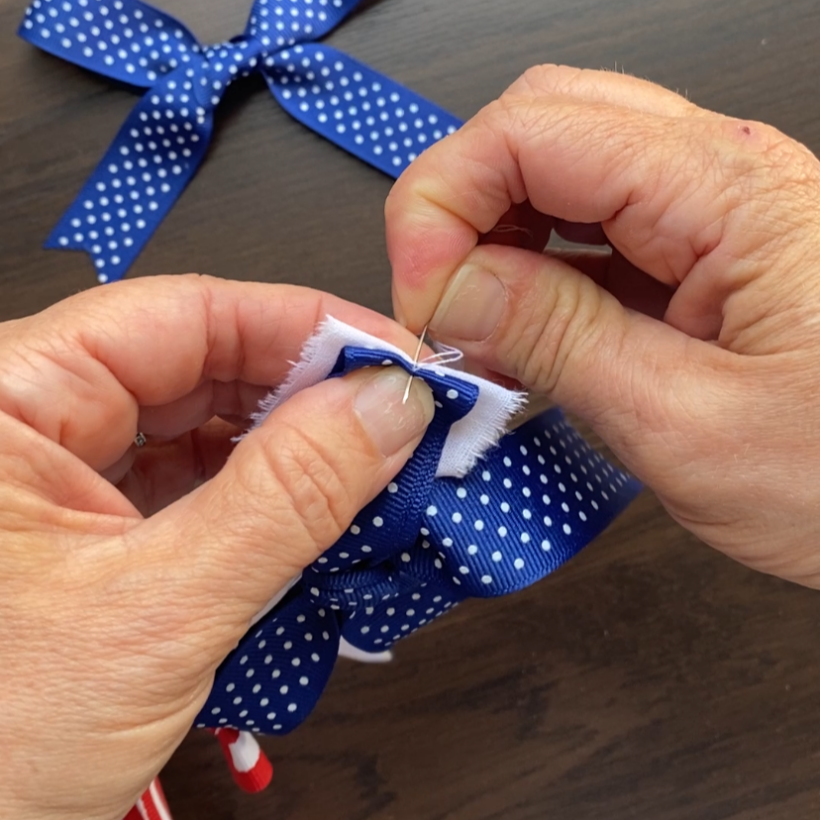
Cut the threads an pull the bows apart to see if they are secured well. Repeat for each bow until your bow garland reaches the desired length.

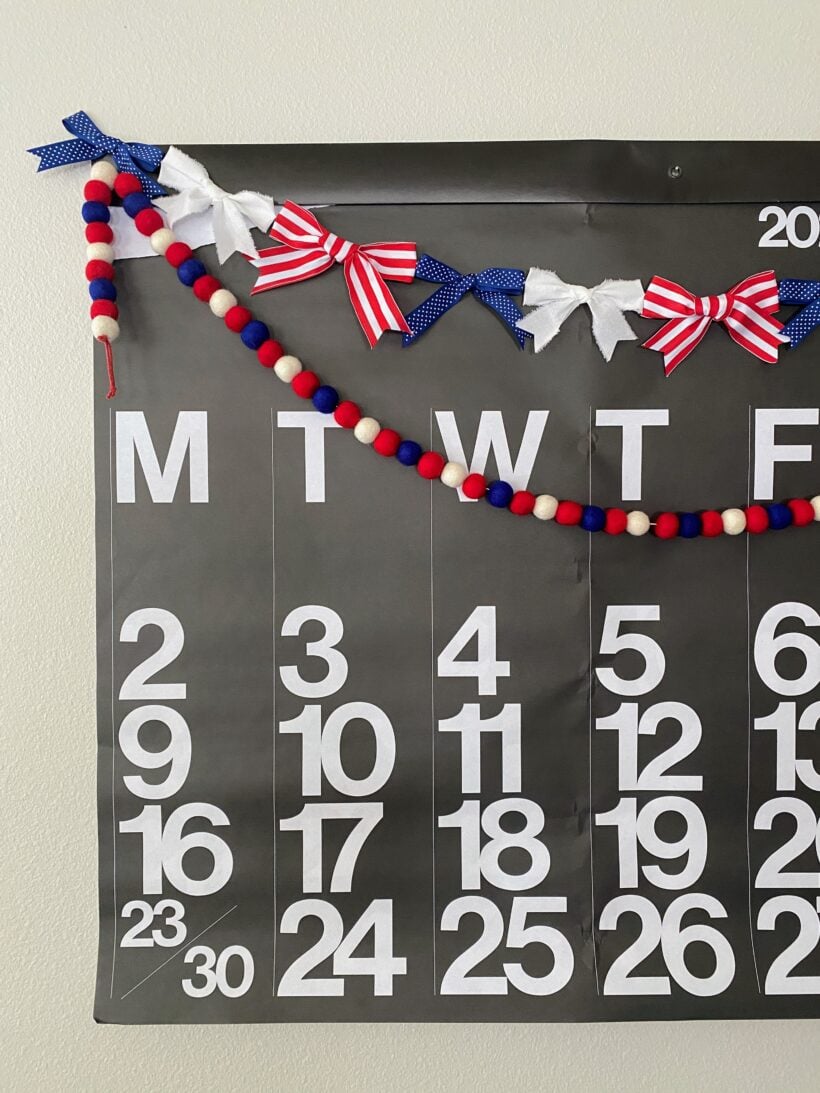
Display on a wall, shelf, or on a mantle. I strung mine on the top of my Stendig wall calendar and added a felt pom pom garland to it that I picked up at Michaels.
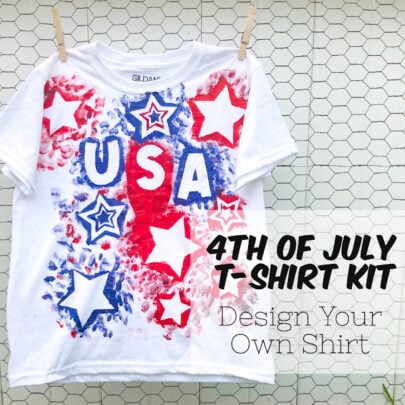
Looking for another fun 4th of July craft to do with kids? Paint your own 4th of July Shirts! You can find all the details in my DIY 4th of July T-shirts post.
Happy Crafting!