
Hello Sewing Friends! This is Rachel again, popping in to show you a quilt I've been working on. I made half square triangles..... now what!? If you are anything like me, you have come across a charm pack full of a new fabric line that you love and you snatch it up, thinking of all the possibilities. Can you relate?
That’s what I did when I saw Lella Boutique’s "Garden Variety" a couple of years ago. I just loved the mix of florals and geometrics and the surprise of the bees. I thought it was charming and perfect for a half square triangle quilt of some sort.

I found a tone on tone white print that I liked and before I knew it I had sewn up 250 squares.
That was fun! I just picked up two pieces and sewed them together to make 2 Half square Triangle blocks. But I had gone into this with no real plan other than to enjoy the mindless sewing....so, now what!?
More Half Square Triangle Quilts

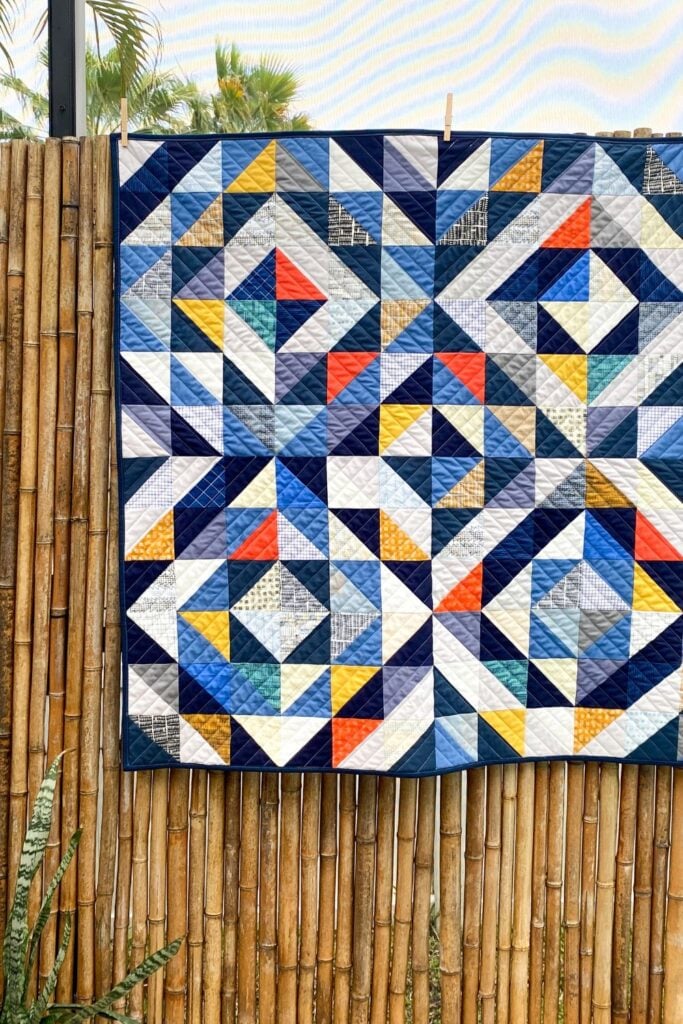
I spent some time on Pinterest and google images looking for all the half square triangle pattern possibilities and finally settled on the Ribbon Dance pattern. It’s interesting and looks a little like DNA which is fun. It is a pretty pattern, but I had no idea how to methodically put 240 squares on the floor and turn them into this beautiful quilt in a way that was pleasing to the eye.

So, I called my sister. Sarah always has good suggestions. Here are 3 tips that will help take the headache out of sewing up your squares and figuring out color placement.
3 Tips for Making a Half Square triangle quilt.
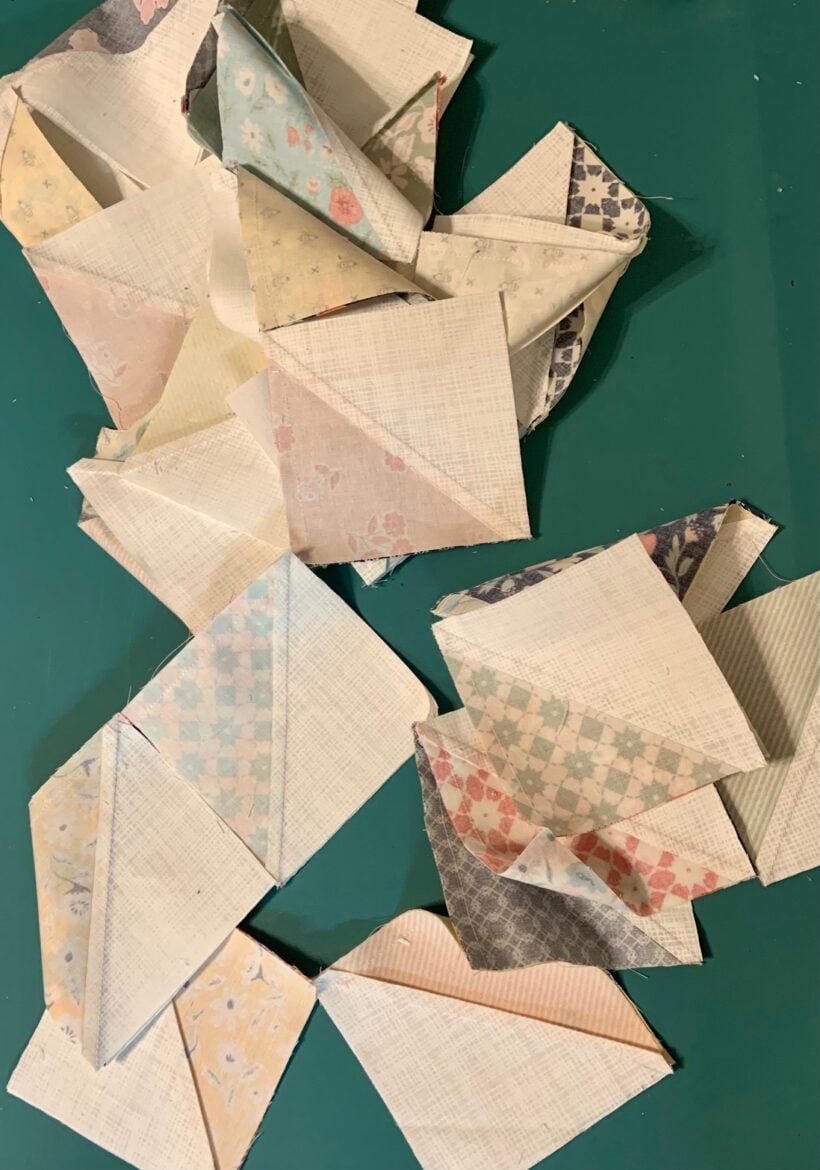
Tip #1: Pair blocks by color value.
Pair blocks and sew them together, without laying it out first. It reduces the amount of placement decisions to make by half. Brilliant! So, I sorted my blocks into colors. Aren’t they pretty? And then I combined half of the blocks together, pairing light with medium and dark, geometric with floral.

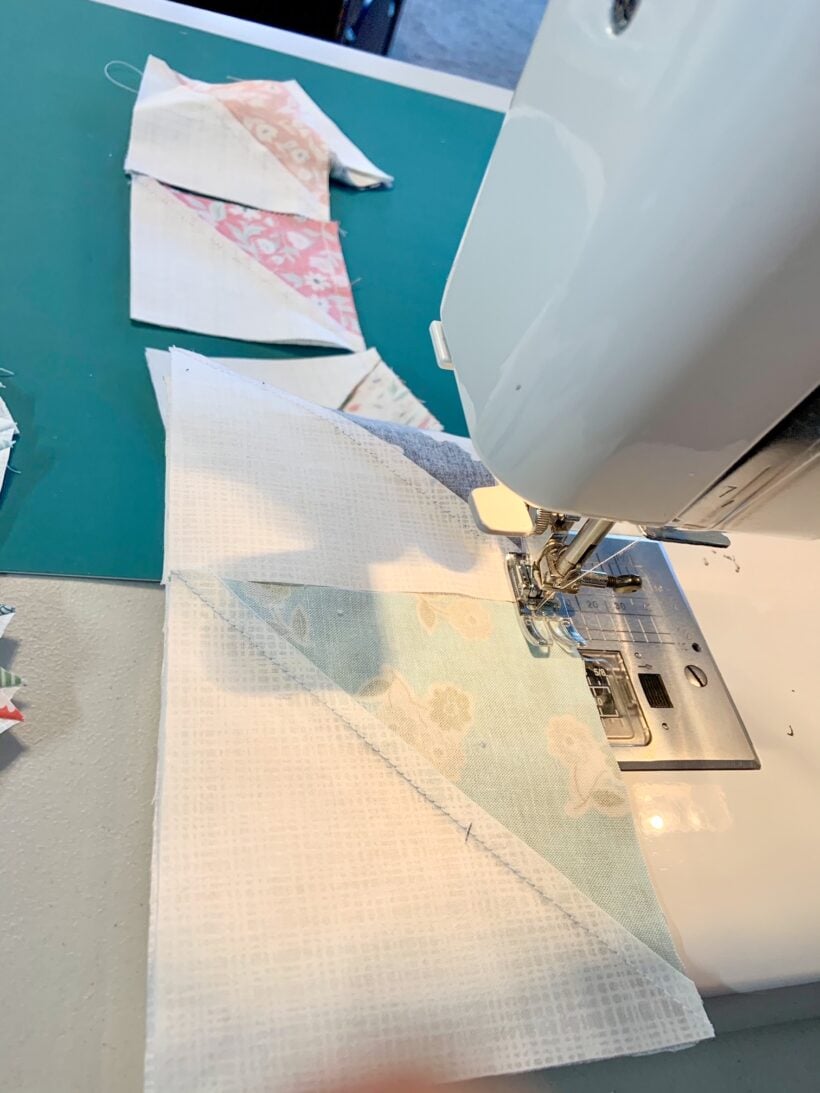
Tip #2: Sew them together in a chain
Sew them together one right after another by butting edges right against each other. This saves thread and time!
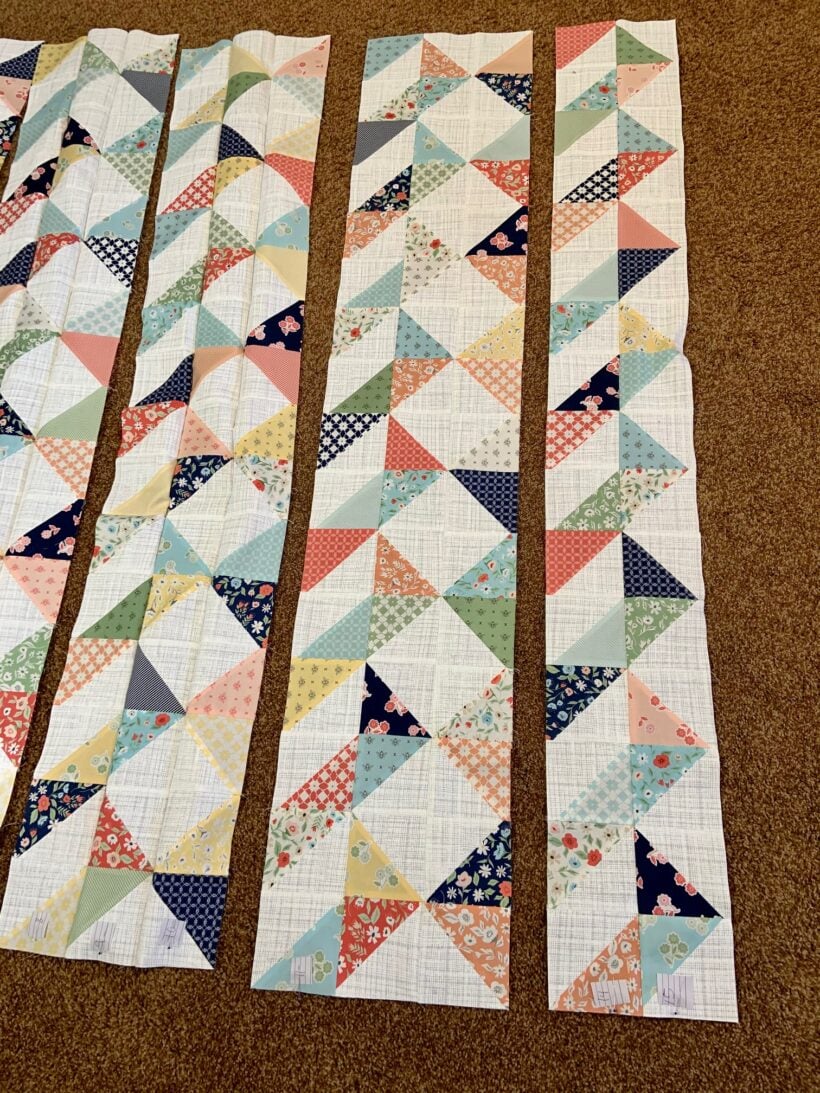
That was easy enough! Then I clipped them all apart, ironed them, and then arranged them on the floor, making sure I didn’t have too much of one color in any area. Since I already had half of the blocks combined, laying this quilt out was so fast and easy.

Next I sewed up rows, numbered them, and stacked them up to sew in order.
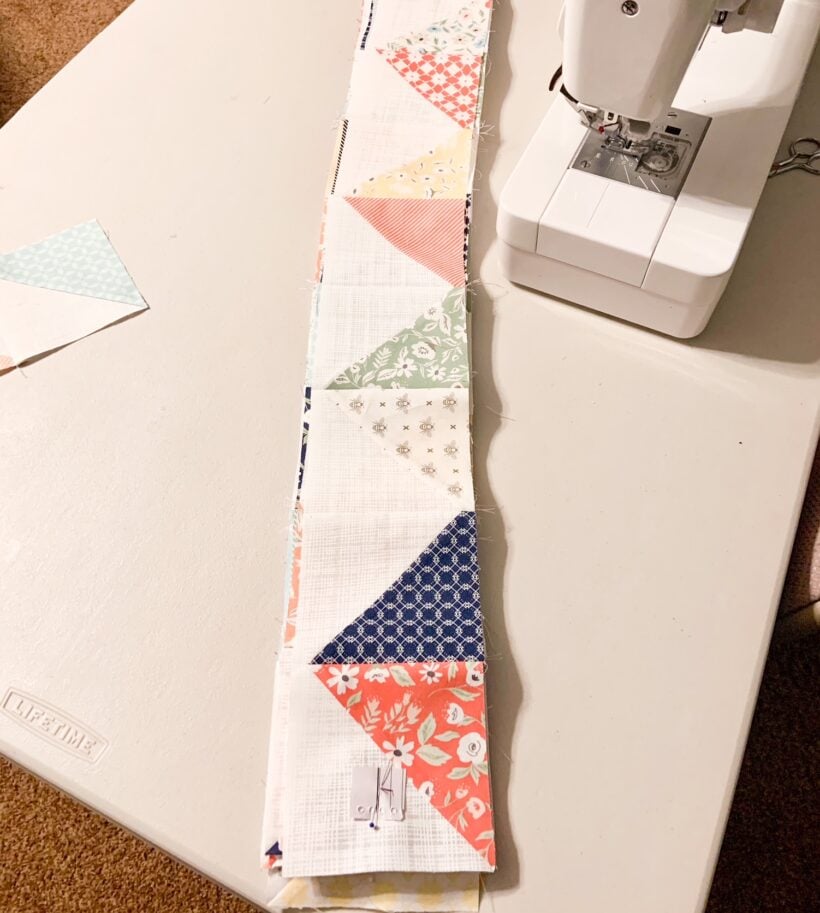

Tip #3: Ironing each section before sewing them all together
I sewed a few rows together at a time, ironing as I went. Ironing each section before sewing them all together was much more manageable than trying to iron the whole quilt at the end.
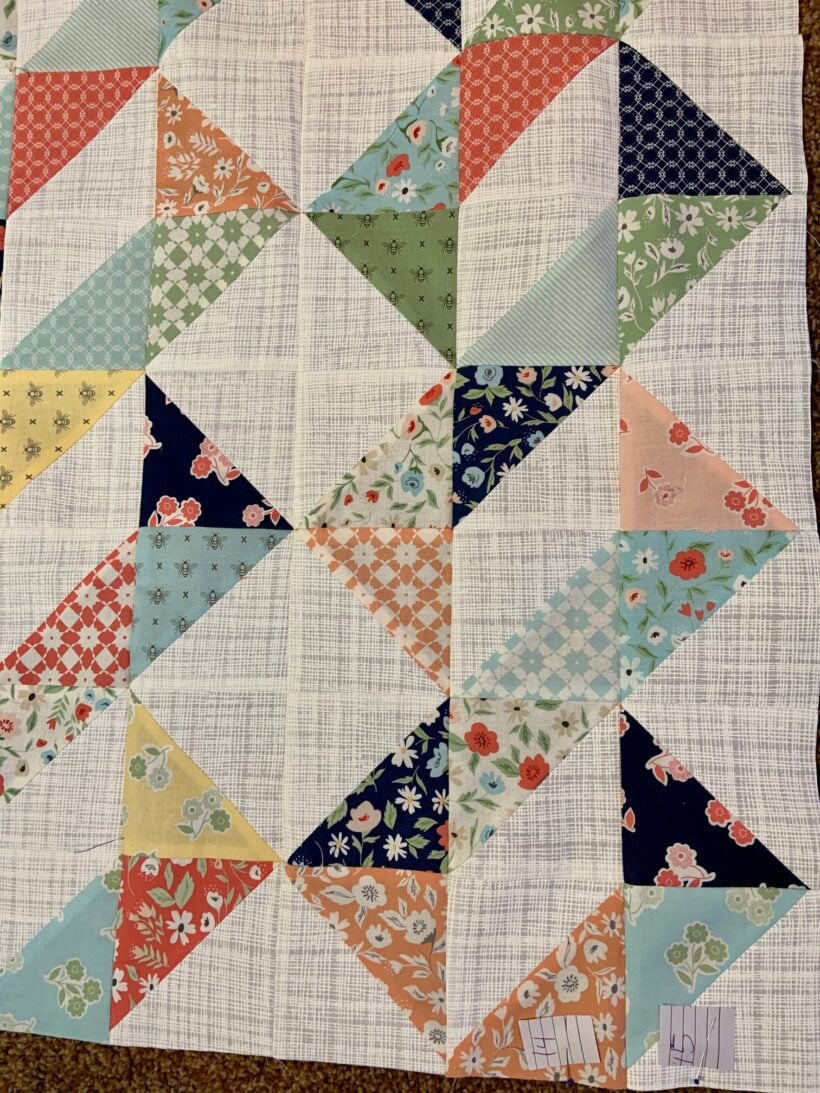
Here is the finished quilt top!

And a close up, just for fun 😉
Hope these tips help you make your own Half Square Triangle quilt. I'll be back soon! Keep checking back for more quilting tips and tricks!
Happy Sewing!
Check out my QUILTING PAGE to see more quilts I've made.
