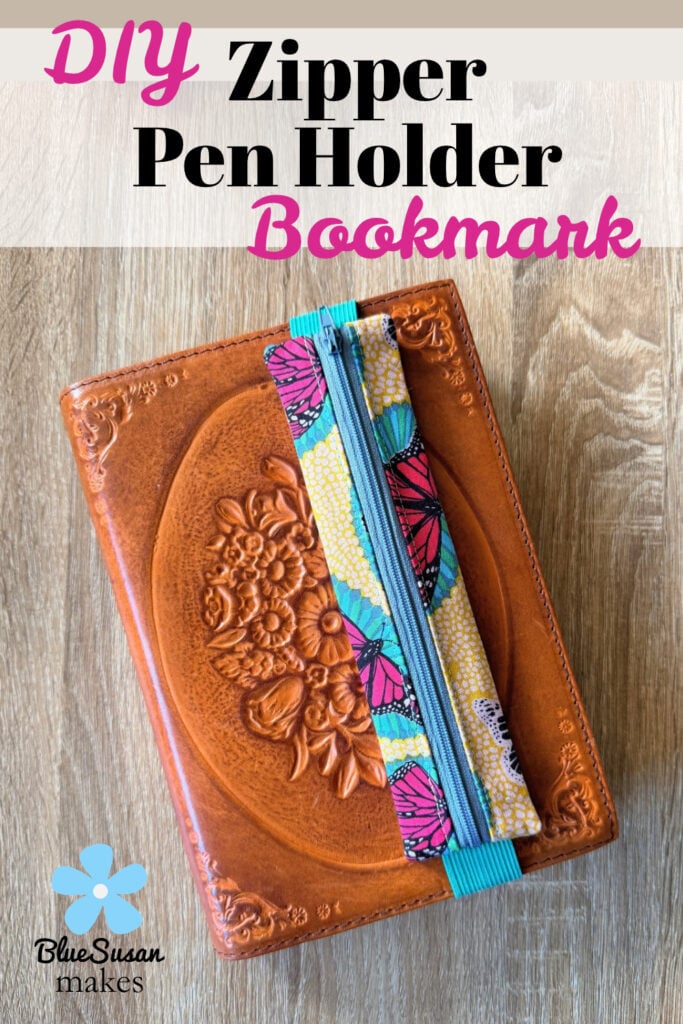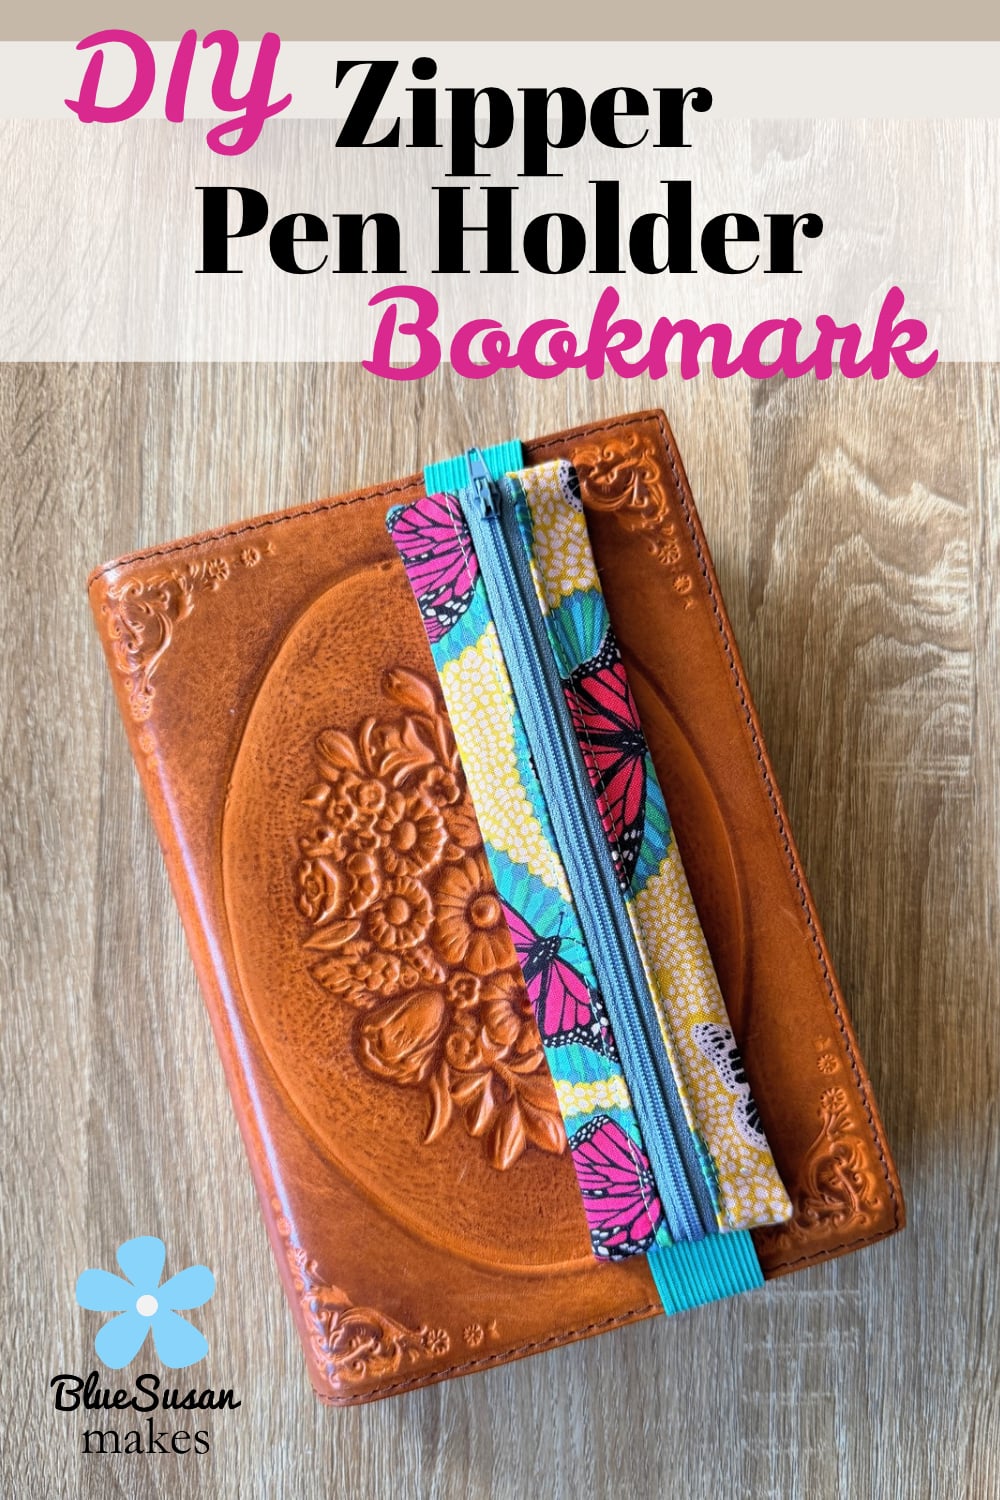
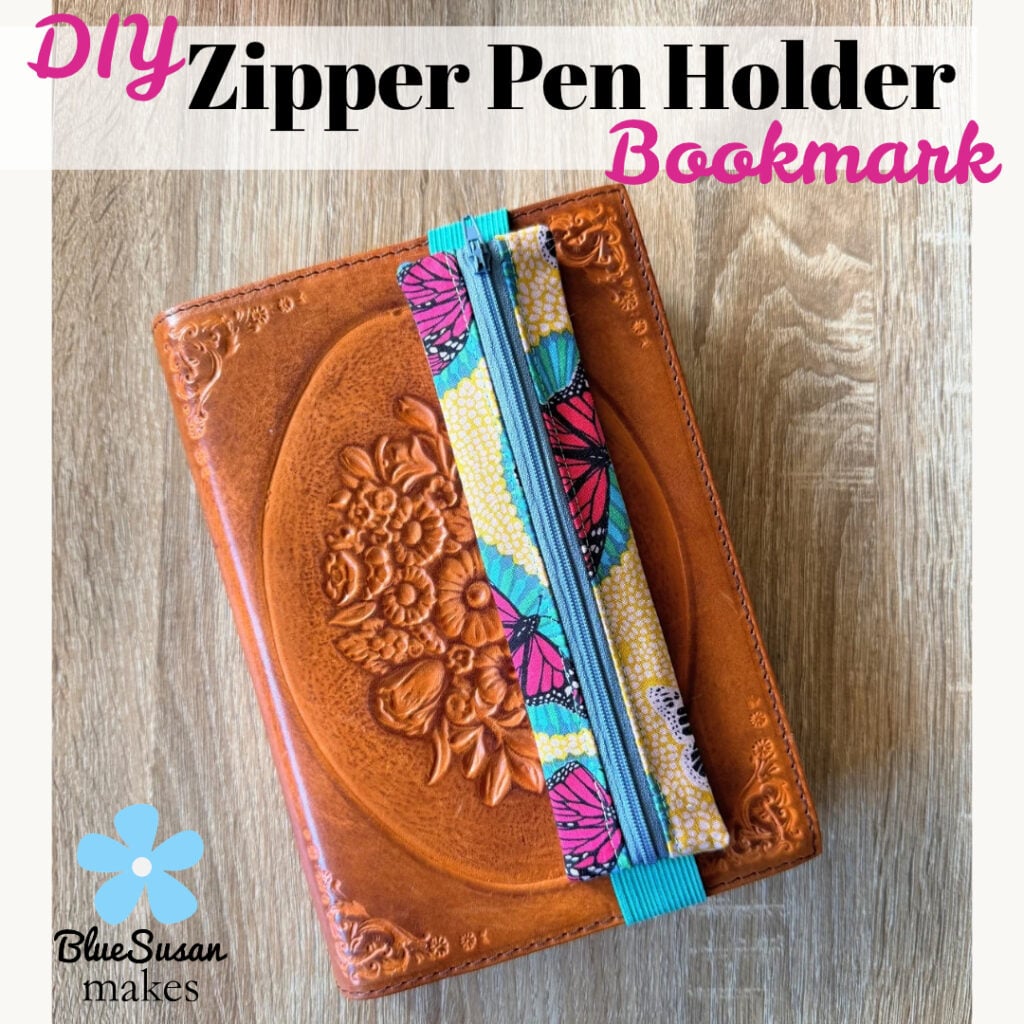
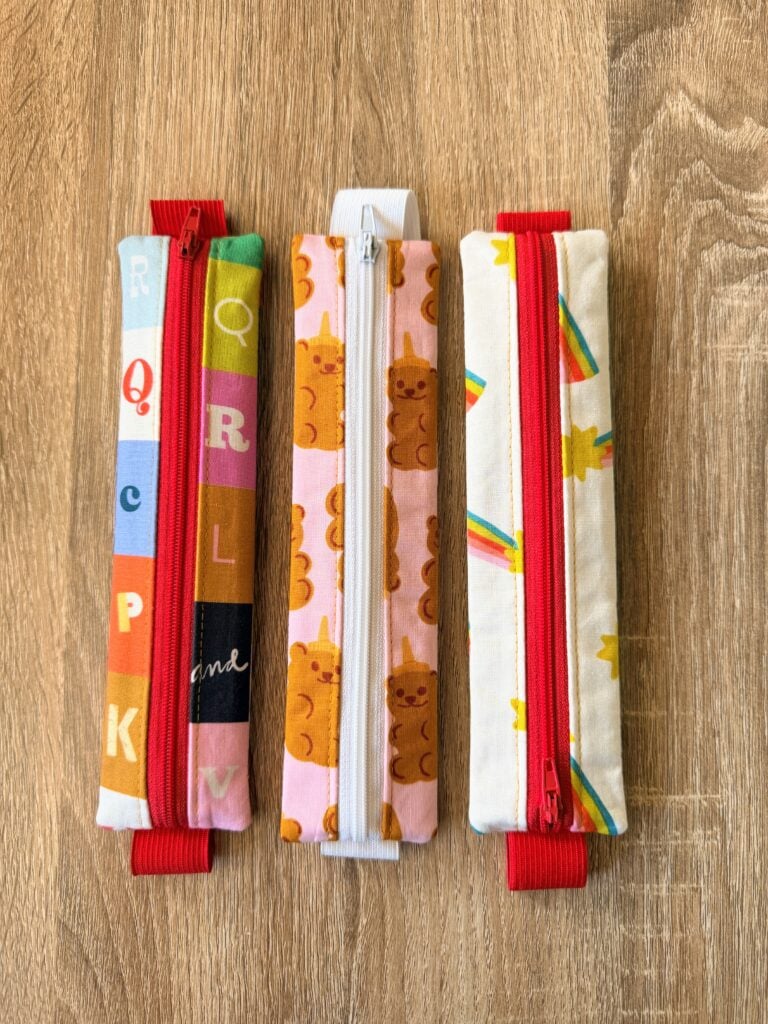
Something cute to sew for a gift? Yes please! Even better when you can use up those leftover jellyroll strips and extra zippers laying around. Everyone could use a Zipper Pen Holder Bookmark! Gift this cute elastic fabric bookmark with a pretty journal, sew one up for your favorite college kid or high schooler and gift it with a puzzle book, or give it with a new book as a back to school gift. It would even make a great stocking stuffer or Easter basket filler too with some fresh pens inside!
Zipper Pen Holder Bookmark Tutorial
Table of Contents
Project Preview
Level of Difficulty: Beginner
This pen holder bookmark is super quick to make and easy to sew using your favorite scraps or leftover strips from a Jelly Roll. Customize the fabric choices to the person you are giving it to and it is a gift you can give anyone!
Finished Dimensions: 1 3/4" x 7 3/4"
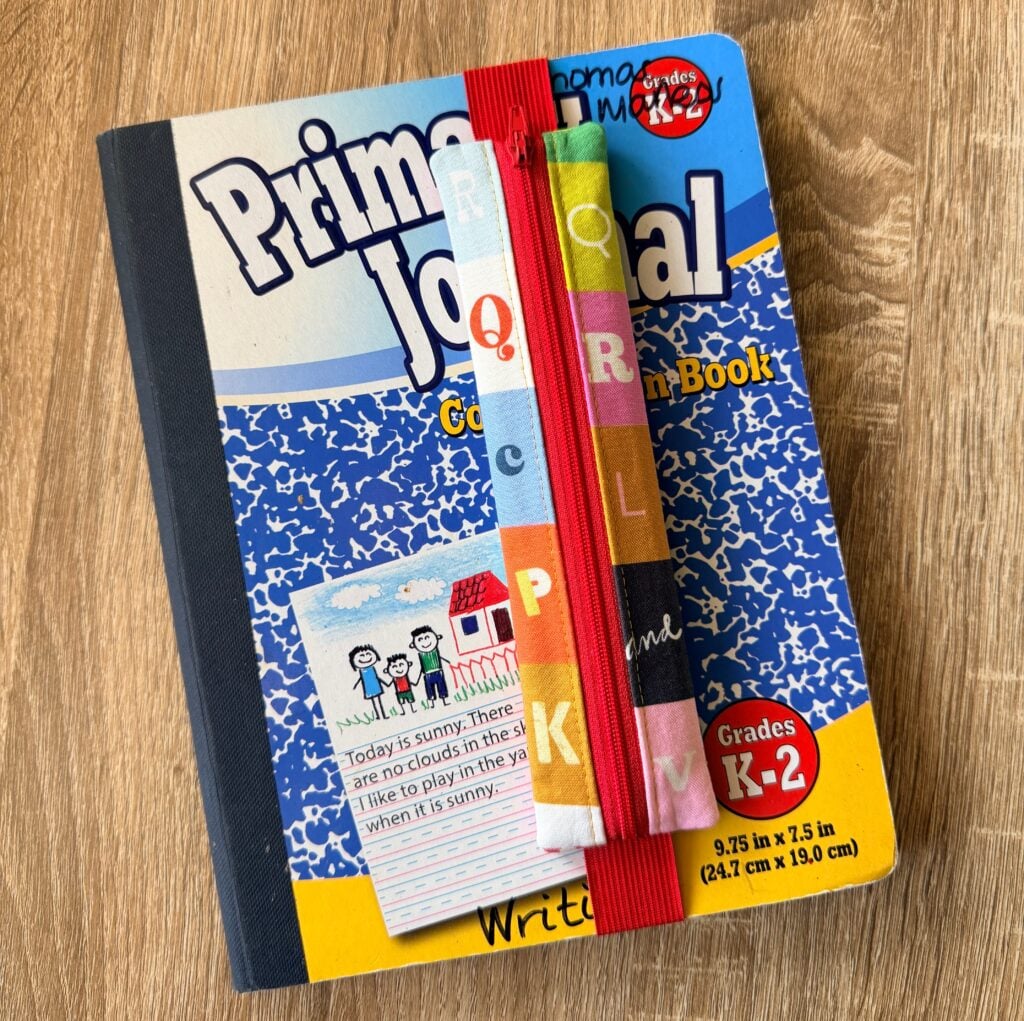
It holds 3-4 pencils or pens and it just perfect for keeping the few writing items you need to have on hand for basic notes, journaling or puzzle books. The elastic will stretch to go around a basic composition notebook size notebook or journal perfectly! You can adjust the length of the elastic to accommodate a larger or smaller sized notebook.
Supplies
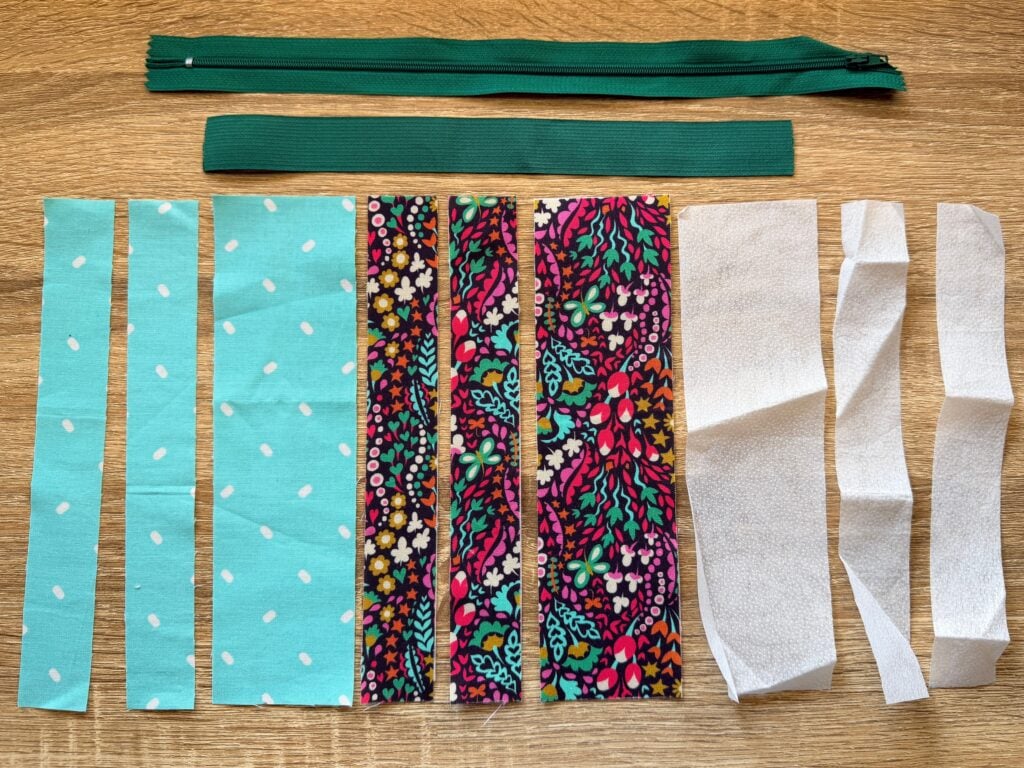
- 2 1/2" wide fabric scraps or jelly roll strips for the exterior fabric and lining
- medium weight fusible stabilizer such as Pellon 931 TD
- 1 zipper, 9" or longer (longer is easier)
- 1" wide elastic (at least 11" in length)
Cutting Instructions
- From the exterior fabric cut 2 strips 2 1/2" x 8 1/2 inches. Take one of the strips and cut it in half lengthwise down the center to make 2 strips measuring 1 1/4" x 8 1/2".
- Cut the same 3 pieces out of lining fabric
- Cut the same 3 pieces out of the medium weight fusible stabilizer
- Cut an 11" length of elastic.
Sewing Instructions
Apply Interfacing
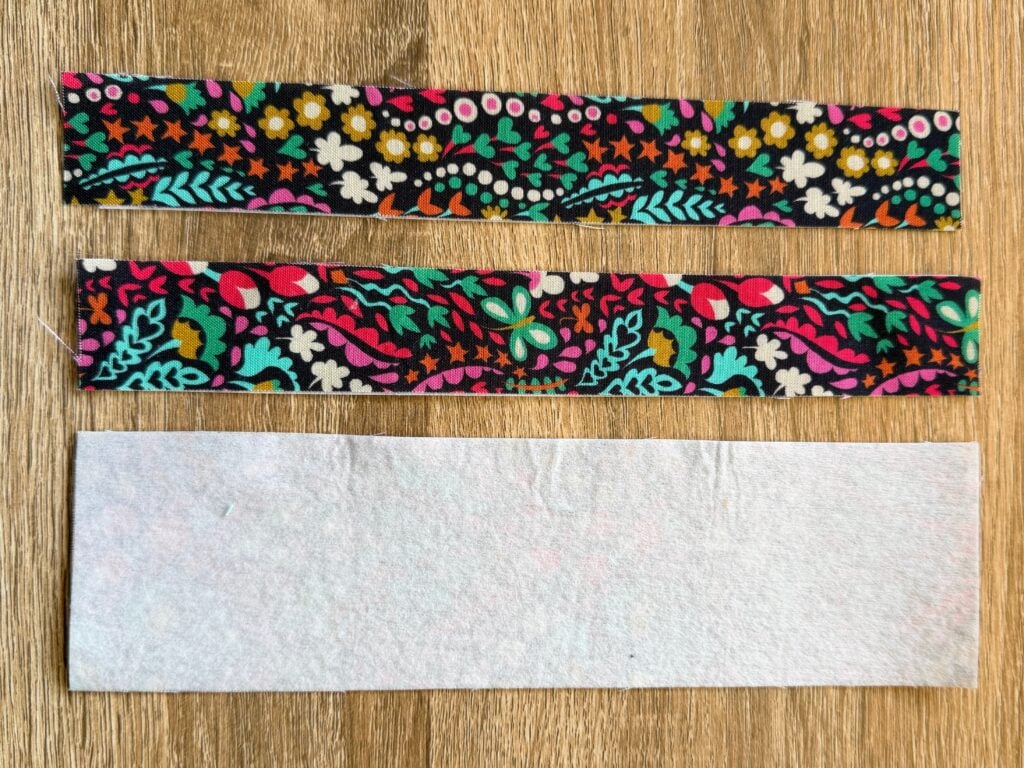
1. Fuse the medium weight fusible stabilizer to the wrong side of the matching exterior pieces.
Sew in the Zipper to Create the Front Panel
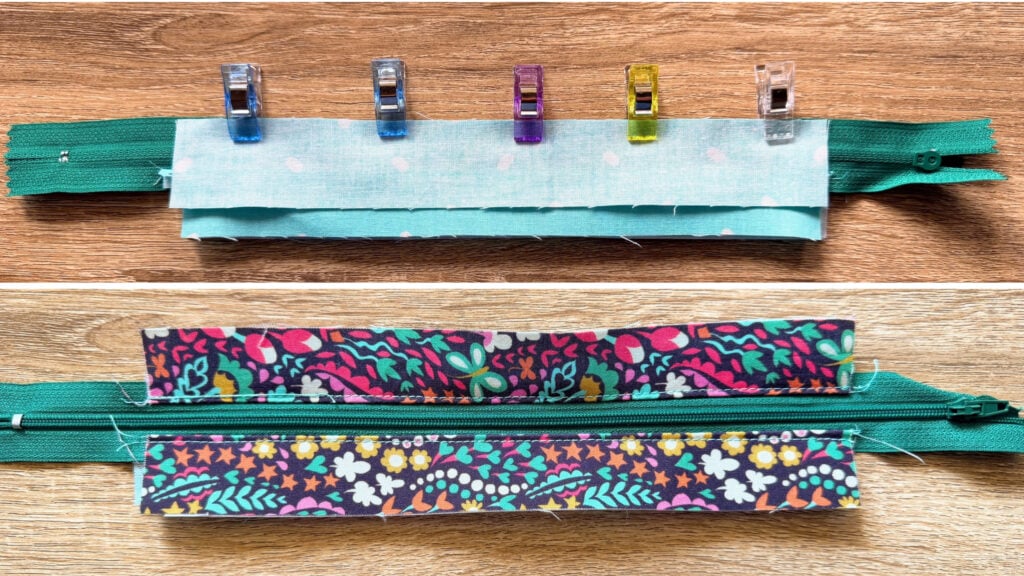
2. Make a zipper sandwich:
- Lay one narrow (1 1/4") strip of exterior fabric on the table with the right side facing up.
- Place the zipper tape along the top edge with the zipper teeth facing down. I usually center the zipper but just make sure the metal zipper stop will not sit in the 1/4" seam allowance.
- Place a narrow lining piece on top with the right side facing down.
- Use a glue stick, seam tape, or pins to hold the stack in place.
3. Using a zipper foot, stitch the pieces in place with a scant quarter inch seam allowance.
4. Flip the fabric pieces away from the zipper teeth and press or finger press the seam line.
5. Topstitch along the seam about 1/8 inch away from the seam line.
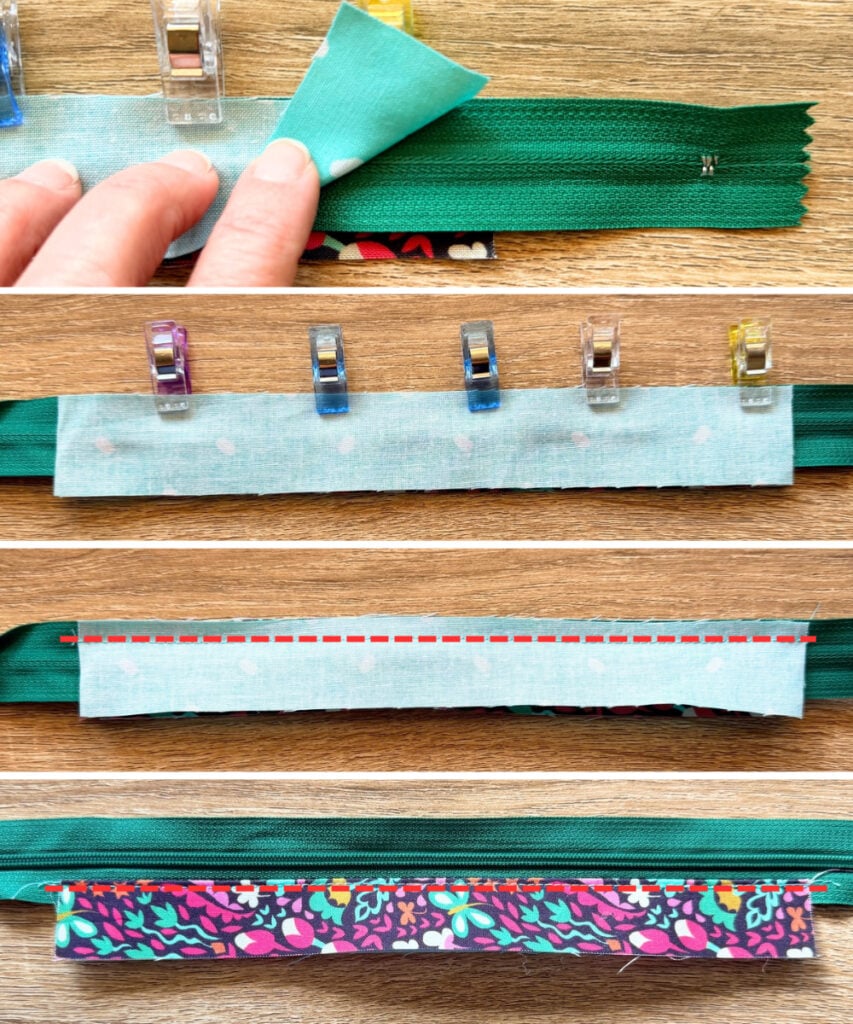
6. Repeat for the other 2 narrow strips on the opposite side of the zipper to complete the front zipper panel.
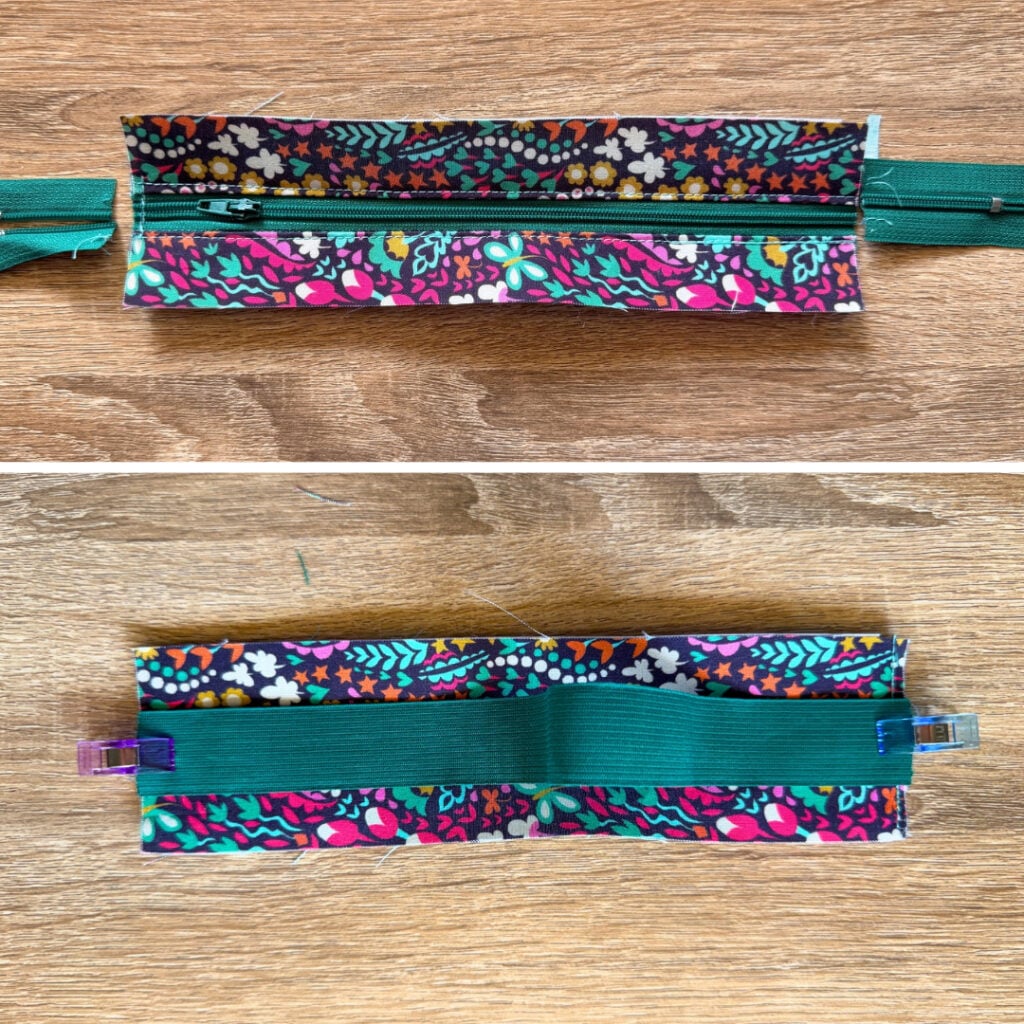
7. Open the zipper part way and trim off the ends of the zipper that hang past the fabric. Baste the open ends of the zipper together so they stay next to each other.
8. Place the elastic strip in the center over the zipper and match the ends to the trimmed zipper ends. The elastic will be longer than the front panel. Pin and baste the elastic in place.
Assemble the Back Panel
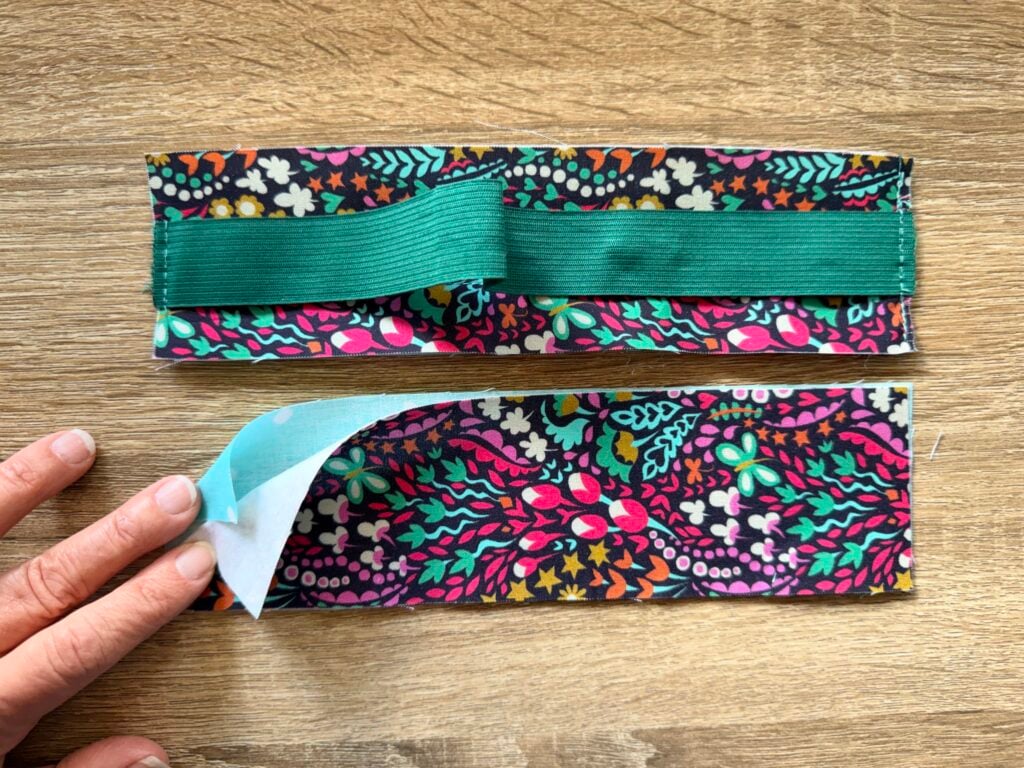
9. Stack up the remaining 2 1/2" exterior and lining strips so that the WRONG sides are facing each other. Treat this as one piece. You can pin these pieces together or glue them together with a glue stick if you find that easier.
Finish the Zipper Pen Holder Bookmark
10. Flip over the back panel and place it on top of the front panel so that the exterior fabrics are facing each other. The elastic will be sandwiched in the middle. Fold over the extra bit of elastic in the middle so it will lay flat. Make sure the zipper is unzipped at least halfway. Clip or pin the panels in place. If your front panel ended up being a little narrower than the back panel, it's ok, just keep the zipper in the center. And remember for the next one you make just sew the zipper with a little smaller seam allowance.
11. Stitch around all sides of the panels with a 1/4" seam allowance. Sew over the ends with the elastic 2-3 times.
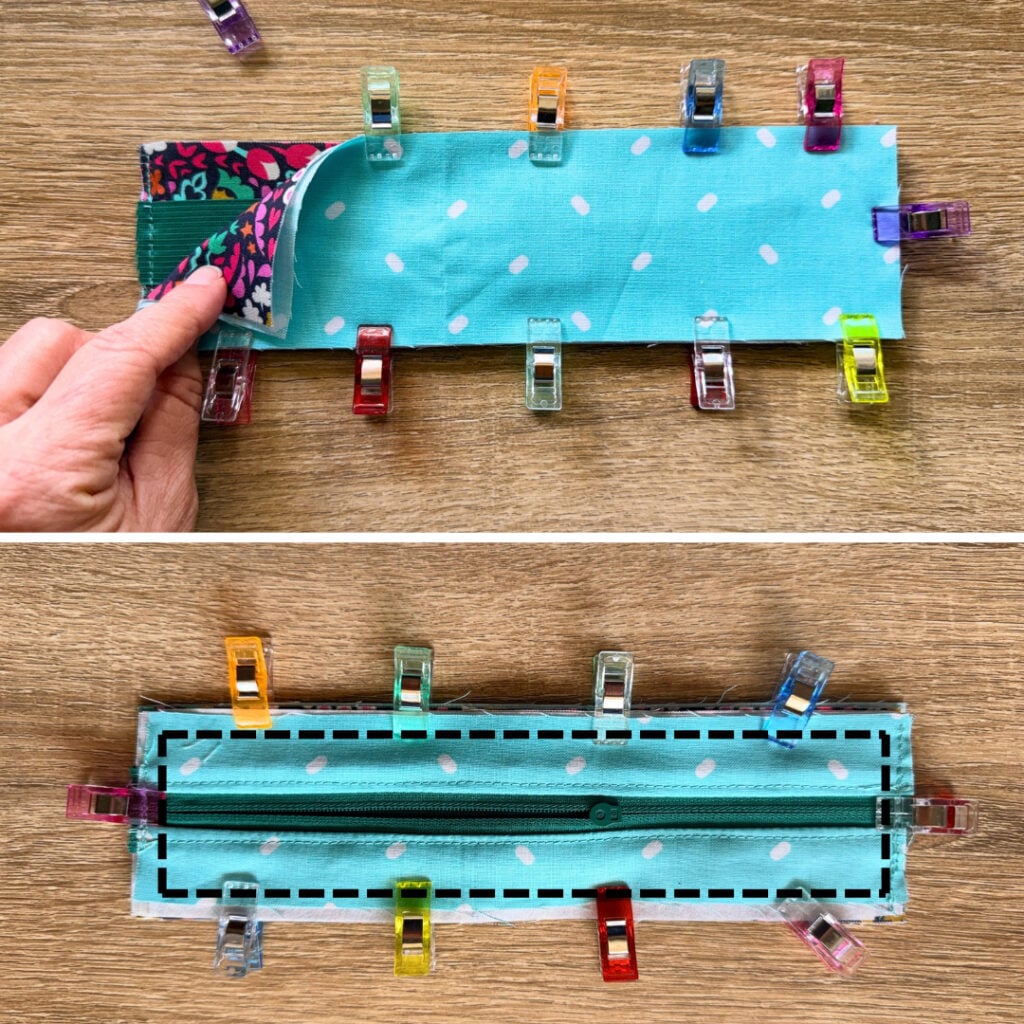
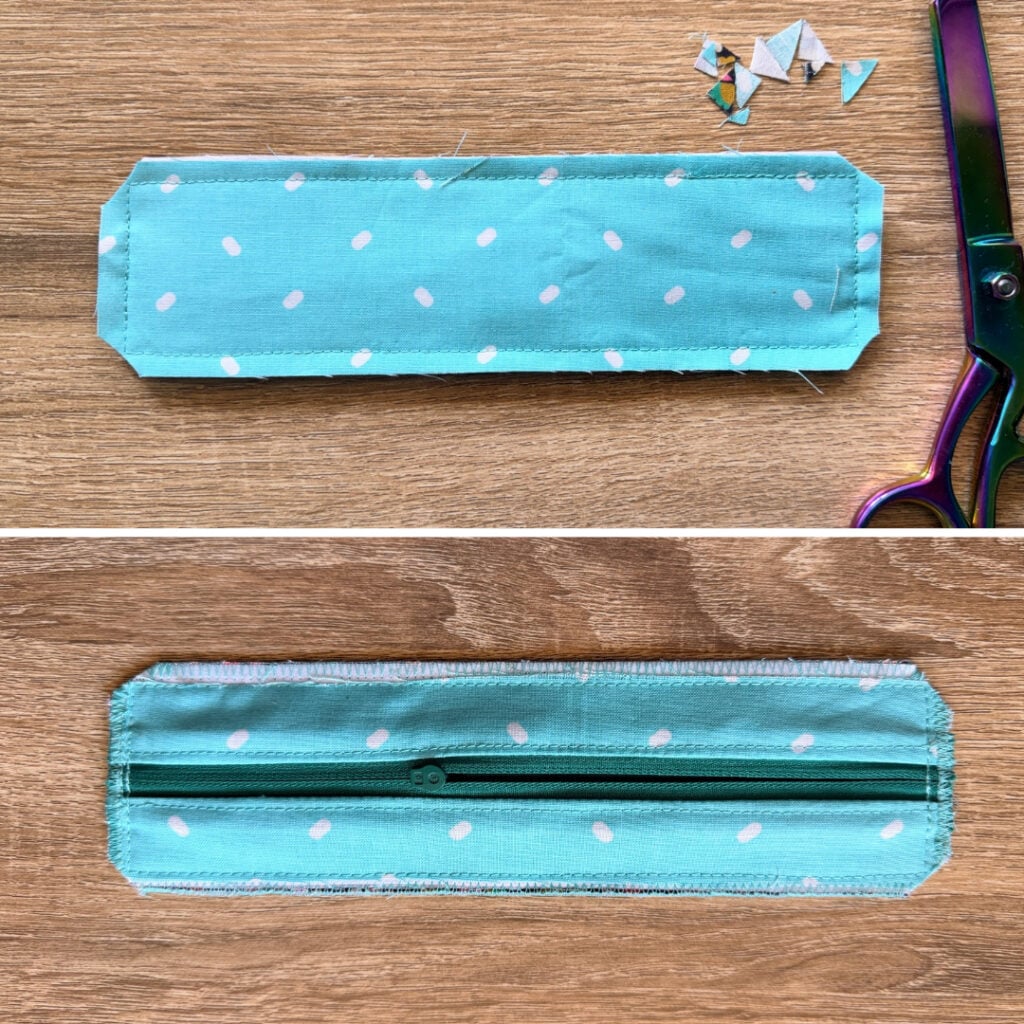
12. Clip each of the 4 corners.
13. Sew around all the raw edges with a wide zig zag stitch. Let one side of your zig zag stitch sew off the edge of the fabric and one side sew on the fabric so the thread will wrap up all the raw edges. Trim any loose threads that didn't get caught in the zig zag stitching.
14. Turn the Zipper Pen Holder Bookmark right side out. Push out the corners with a dull pencil or turning tool stick. Work out the seams and press the pencil pouch flat (but don't put the hot iron on the zipper teeth, they will melt)
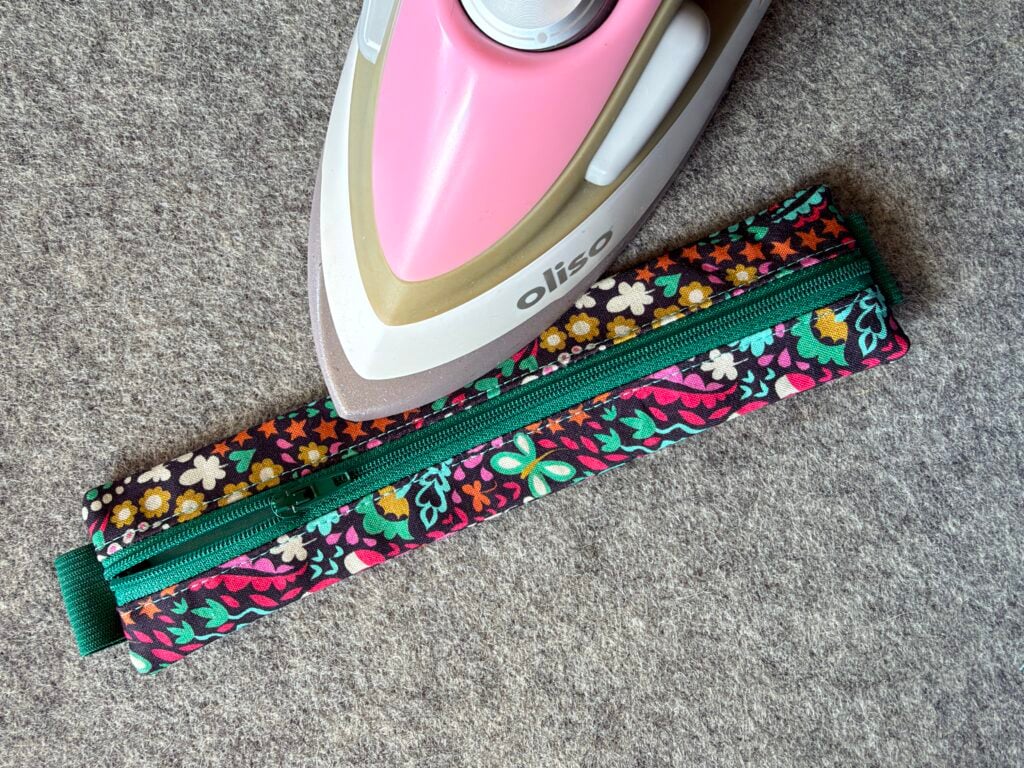
And you are finished!
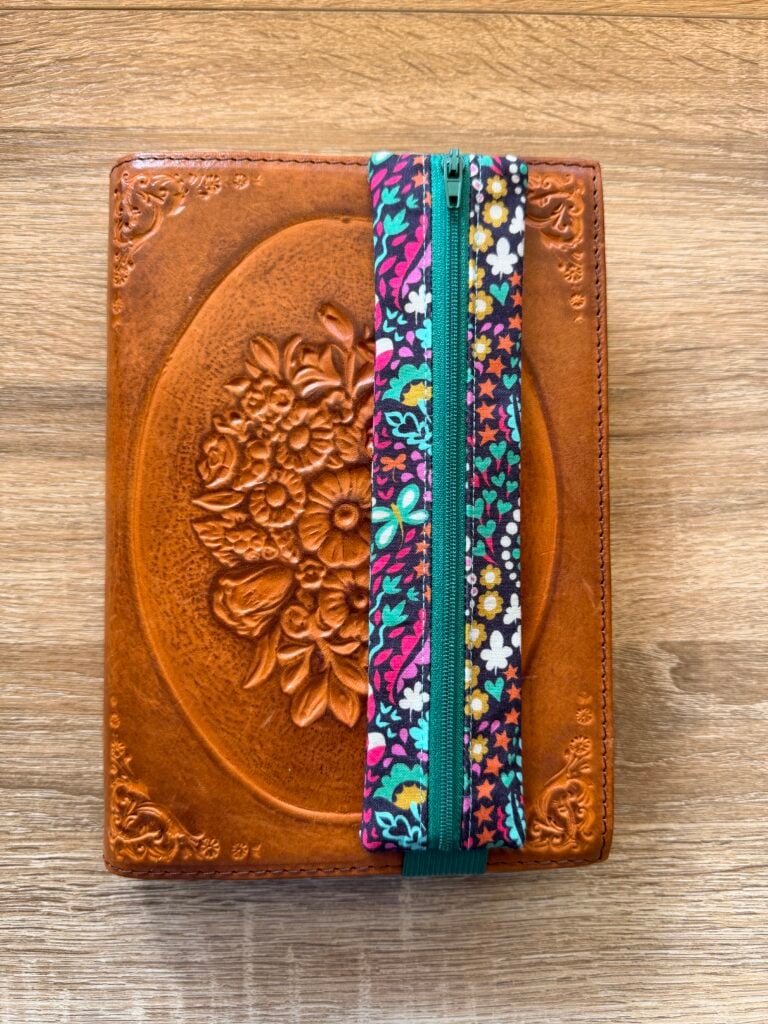
Aren't they so cute! If you make some Zipper Pen Holder Bookmarks I'd love to see them! Tag me on Facebook or Instagram @Bluesusanmakes #zipperpenholderbookmark and I'll be sure to find them!
Find more fun Gifts to Sew here: