Girl Charlee Fabric haul and Summer Skirt plans

Hello! I live in Florida and it is getting HOT here. I'm usually just a girl who lives in jeans daily but I just can't do it in summer! I am in desperate need of some skirts so I ordered some knit fabric from Girl Charlee Fabrics and it came last week. Want to see my haul?


P.S.Have you checked out Girl Charlee Fabrics? You can't beat their prices (not sponsored)

READ ON TO SEE WHAT I PLAN ON MAKING! (And help hold me accountable)

Grand Adventures quilt in CaliMod


Hey Hey Hey.....I'm back today to show you a quilt finish from this past summer. I am beyond excited that I got this finished because it has been a been a long time coming. I originally finished the top of this quilt about 2 years ago and there is whole crazy story that goes with it so read on if you are curious. 

Got a ruler that slips? Fix it with TrueGrips!

Heads up: this post contains affiliate links.
I've spend my extra time during covid this year mostly painting every bit of my house. But I have been able to carve out a little time to piece some quilts. I did an inventory as I moved my sewing space and found that I have FIVE quilt tops that I never quilted. Gotta get on that! But today I wanted to share a little something that has made cutting all those strips and blocks SOOOOO much easier.  Have you heard of TrueGrips?

Christmas Crafting: DIY Candy Cane present topper

 Just under two weeks until Christmas! December always flies by, doesn't it? I was looking back through my Christmas posts over the years and I found this cute DIY Felt Candy Cane tutorial my sister Rachel did a few years back. I always think its fun to make a little ornament as a gift topper and this one is just so cute with a green tag sitting next to it and some simple twine.


If you want to make a candy cane you can find the tutorial HERE

Big kids can even make this craft if you help them with the hot glue gun. You could also use it as a little teacher gift or tie it around a napkin for your Christmas table. Anyway, just thought I'd share. I'm off to make some zipper pouches and then Christmas PJs. Hoping to have them all done by the time my big kids return and take over my workroom, which is only a couple of days away. What are you making for Christmas this year?

Happy Making!

4 Easy DIY Face Mask Tutorials

Hello!!! I'm jumping in the mask making frenzy and I keep getting asked by my non-sewing friends what is a good tutorial to use. So I thought I'd do a quick round up review of some of the ones that I have tried. A couple things to think about before making your home made mask.  I found a good article on an NBC site that suggests using a double layer heavyweight quilting cotton material instead of knit fabric is best. It even suggests that a layer of flannel in between increases the virus filtration. There are many tutorials out there that use elastic loops to go around the ears. The word on the street is that the elastic behind the ears gets painful after a while so if you are making these for Healthcare workers opt for ties instead of elastic. Ties make the fit more adjustable as well.  I used to be a surgical nurse and it is really not as hard to tie these on as you think it might be. Also if you are making masks to donate to Healthcare workers please contact the facility to see if there are any specifications that they require and if they are actually taking donations. In our area there is a local facebook group that is coordinating orders. Take a look, you might have one  for your area too.

**Remember none of these masks are intended to be used as sufficient protection by themselves. Please follow the CDC and WHO guidelines if you are making one for yourself or family member.**

First up is this simple pleated mask by Dana from MADE EVERYDAY. I love her tutorial because it is simple and easy to follow. It includes instructions for ties or elastic, as well as multiple size option. I would say this style is probably the best and easiest if you are making them for yourself to help prevent spread of the virus if you have to go to work or to the store. This tutorial is easy to follow and she has a video too! Find her awesome tutorial HERE.


Next up is this molded version called the Olson Mask. Caroline of Sew Can She made a beautiful tutorial for this mask. The construction is a little more complex but it includes instructions for inserting a removable filter as well. It is more fitted than a pleated face mask and may be the option you are looking for. She also has a great video explaining the process. Check out her tutorial HERE


This next tutorial is also for a fitted mask but is constructed a little differently. It is designed by Suzanna of Hold it Right There. I like this one because it is specifically designed to go over a N95 mask to help prolong the life of those that have to be reused. It is simple and comes with a variety of sizes and tie options as well.  However, this pattern is only for use for those making masks for the Healthcare workers. This feels to big and strange to be worn on it's own anyway  Download the pattern HERE if you are sewing for your local health care facility.

One last tutorial I found a super simple mask designed by Bijou Lovely  for the Million Mask Challenge. You can read all about the project and help make masks to donate.

I hope these are helpful!! Signing out not to go sew a mask! Stay healthy everyone!

Tie Scrunchie Tutorial


Hi sewing friends! As I'm sure you've seen, scrunchies are back!! But have you seen the cute little tie scrunchie versions that are out there? A tie scrunchie is a scrunchie with a little strip of fabric tied onto it to make it look like you've tied a little hair scarf around your pony tail.

Mini Yarn Wreath Pattern Weights

Hi there sewing friends!  I wanted to pop in and show you how to dress up one of my favorite sewing notions. Pattern weights!! These are simple 3/4'' washers that I picked up from Home Depot to use as pattern weights. I thought it would be fun to make them pretty to give a little gift to my mom on her birthday. I've shared how to make Mini Yarn Wreath Pattern Weights  in the past as part of National Sewing Month with The Sewing Loft but I thought it would be fun to share here again too.   I think they are the perfect gift for a fellow sewist, don't you?

Crafty Little Things to Sew: Reversible Chair Cushions

Hi Sewing friends! Today I get to be a part of the Crafty Little Things to Sew Blog Hop. Have you seen this book yet? It's the newest book by Caroline Critchfield-Fairbanks and the bloggers of SewCanShe. I get to give you a peek into it today and give you a chance to win a copy too. To enter just follow the instructions at the bottom of this post.
 

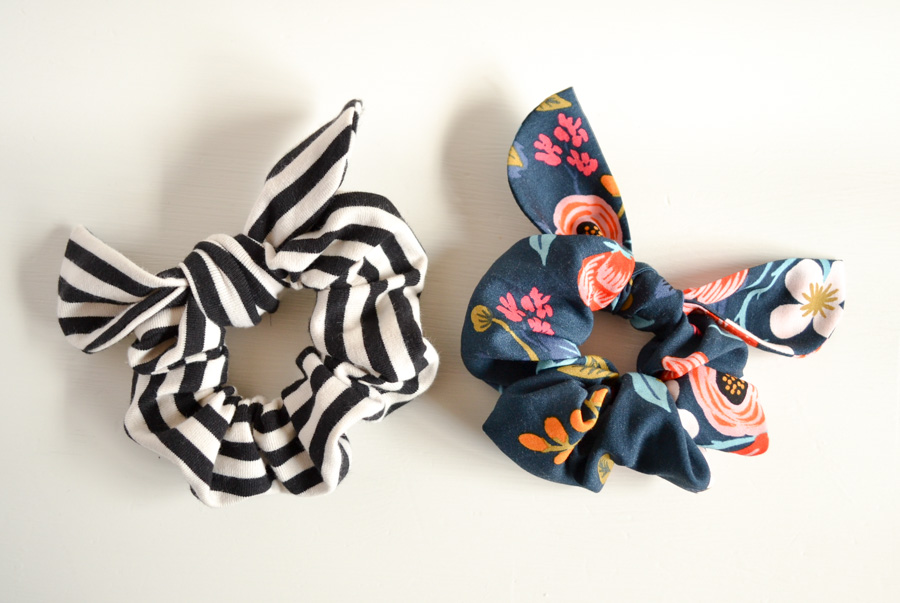
This book is full of cute little projects you can sew up in an afternoon. I love a quick sew, don't you?!
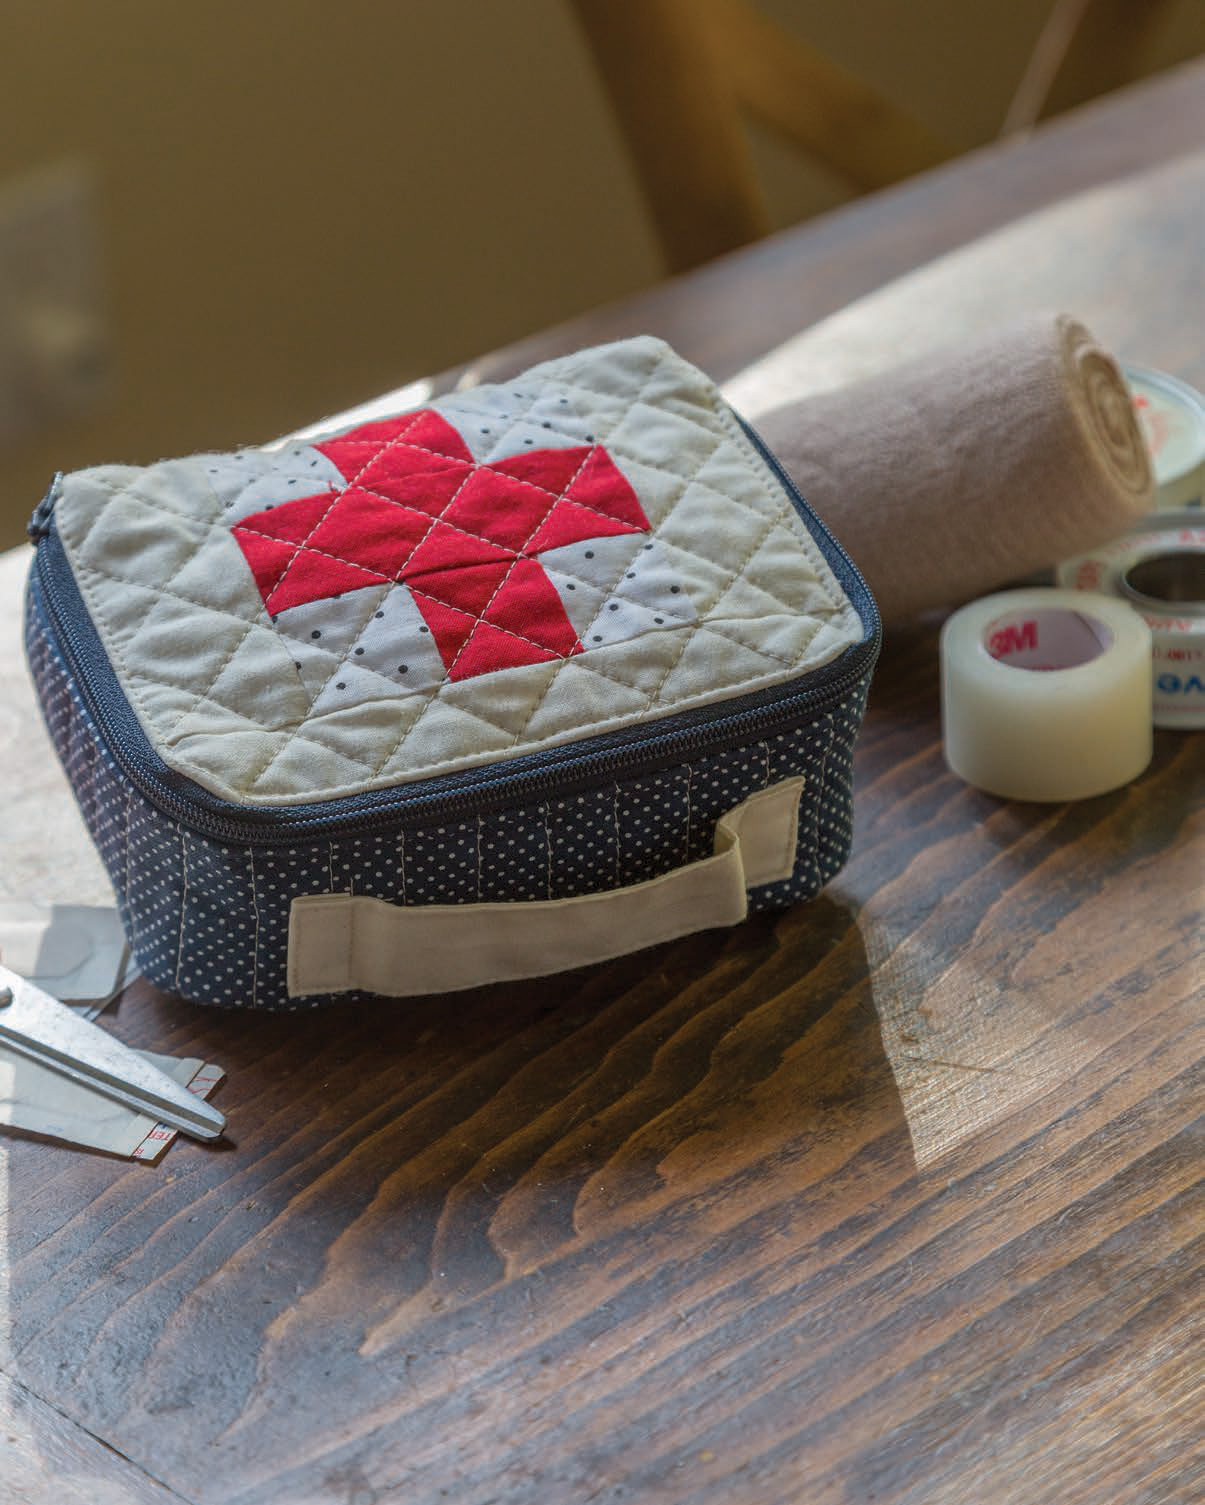
There are a few projects that I'm just itching to make. Like this Quilty First Aid Kit! I think my daughter needs this to keep all her meds, skin creams and ointments organized as she heads out to college next year.

The Two-in-one Lunch Tote and Placemat and the Spacious Spa Caddy look handy and super cute. 

 
I designed a project for the book too. It's called the Casual Coupon Pouch. I'm a little bit of a lazy couponer. I love a good deal but I don't have time to go to the extremes and find ALL the good deals. So I thought it would be nice to have a pretty little pouch that I could throw in my bag to store coupons and receipts so they don't clutter up my wallet, which is usually what happens. It looks like an ordinary pouch but there are dividers inside to help keep things nice and tidy.


Okay one more thing if you are still with me. I was lucky enough to get a chance to sew up a project from the book TODAY! I made cushions for my kitchen chairs using the Reversible Barstool Cushion pattern.

I was so excited to see this pattern because I've been wanting to make cushions for my new little table in my dining nook.
I made this table using a tutorial by Delia's Hairpin Coffee Table Tutorial.
Houndstooth decorator fabric from Fabric.com
While the pattern makes a reversible cushion that is so cute for mixing prints I decided to just use one fabric for the top, bottom, and piping. This little cushion is taking me one step closer to realizing my dreams of decorating my home in Joanna Gaines' style (LOL!). I think I need one with fun prints for my sewing seat though.

Since I didn't have a button cover kit on hand I just tacked the center down in 4 places to quilt it a little. I just love how they turned out. I wasn't sure how the piping would go but I just followed the instructions and it came out perfectly. Love!

I hope you'll check out this Crafty Little Things to Sew and to win a free copy please enter the giveaway by leaving a comment on this post. For an extra entry follow me on Instagram @bluesusanmakes and leave a comment there. There are also other stops on the Blog Hop you won't want to miss. Happy Sewing!


--------
This post contains affiliate links. If you purchase something through one of those links I may receive a small commission, so thank you for supporting Blue Susan Makes when you shop!


Just for You Sewalong

Hello! It's January so Happy New Year!!! I'm so excited for this new year. I've had a couple of slow sewing years and I'm excited to sew more this year now that my baby is 2! He's 2 and I kind of can't believe it. My kids went back to school today so I'm back to blogging too.

Let's talk about New Year's re'sew'lutions. :)  Are YOU making any?

We are kicking off the yearly Just for You Sewalong this month and I wanted to pop in and make sure you knew all the details about it so you could join in the fun. Each month we will be sewing our way through pages of my book Just for You: Selfish Sewing with your Favorite SewCanShe Bloggers. (affliliate limk) We've rounded up amazing projects from some seriously talented contributors. The book is perfect for meeting all your sewing goals. It is organized into monthly chapters, with 2 projects to sew each month.  Choose to sew your favorite or go all out and make them all. Each project comes with an opportunity to learn a new skill or sew with a different type of fabric. Come show off your projects in our Just for You Sewalong Facebook Group. We have over 2000 members and would love to have you join us.  We love to cheer each other on.

In honor of our January kickoff you can purchase a signed copy from my Etsy shop for $18 plus Free Media Mail shipping. This price will be good through the end of January so get one while you can.

If you haven't had a chance to check out our book yet it has beautiful magazine like photos and helpful step by step photos that make the projects easy to sew. Check out what we are sewing in January.

 The Sweetly Gathered Round handbag is a lovely lightweight bag with no interfacing, a set in zipper pocket and comfortable flexible hoop handles you can sew yourself. The Chevron Shrug is cute and comfy and just perfect for throwing over your favorite t-shirt.  I'm working on gathering my fabrics for these projects and will be posting my fabric choices on the Sewalong FB page soon.

Come join us. Let's have some fun!

New Pullover Bibs for the Toddler

Hi Sewing friends! I sewed something for my baby the other day...he is more like a toddler now and not so much like a baby. He had grown out of all his little bibs so it was high time I made him some new ones. Plus, I have a baby!! I should be sewing cute things for him!! (that's what I say to myself at least) I use my Pullover Baby Bib tutorial and changed it up a little to make them. Have a look.


Instead of using terry cloth I used a layer of minky fabric for the backing and a layer of printed cotton instead of an applique on the front. You can find my updated full tutorial for how to make a Pullover Toddler Bib on the Fabric.com blog


I love how bright and colorful they are.  He loves that they have pictures he can recognize on them. The animal one is his favorite.

I keep them stuffed in the space between the chair and his booster seat so they are ready when he needs one.


I also used knit fabric for the neckband instead of ribbing. It didn't have quite as much stretch as the ribbing so I had to increase the length of the strip to 14'' instead of 11''. I'm hoping to write up a new tutorial soon.

He loves them all and reminds me to put one on him if I forget. To tell you the truth though, he didn't like them one bit at first. He kept trying to pull it off. 


Thank goodness he likes them now because they sure are cute, and so is he.


Happy Sewing!