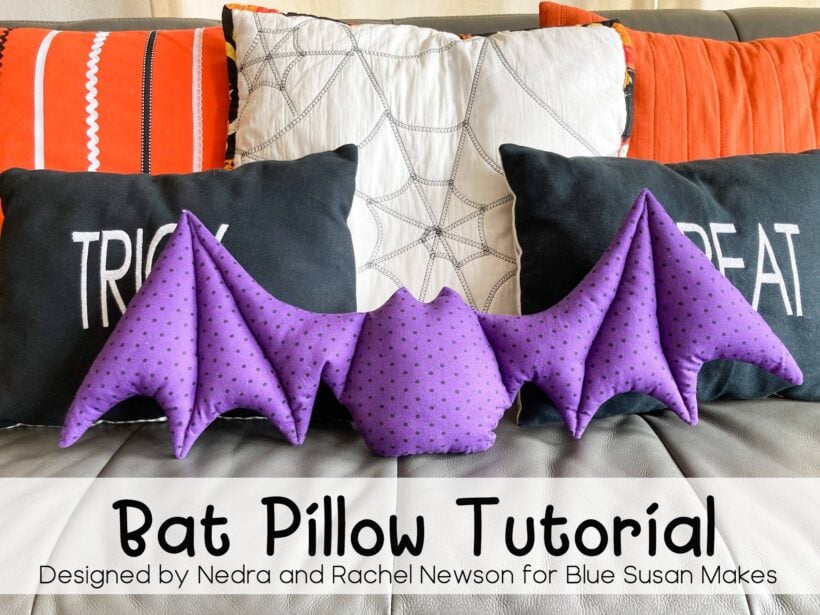
Hello sewing friends! My mom and sister made the cutest little Halloween pillow the other day. It is a cute little bat shaped stuffie that sits on your couch! I couldn’t let them have all the fun so I got my hands on their pattern and made one too. Isn’t the design so cute?!!
Halloween is one of my favorite times of year. I have had a lot fun decorating for it this year. I love the shape of this little bat! It’s perfect for sitting on the couch to add a little fun to the Halloween season. Your little one will love to cuddle it and fly it around the room too.
If you are looking for the paid version of our Halloween Bats PDF Sewing Pattern with 3 sizes and upgraded wing details you can find that in the Etsy shop.

This post contains affiliate links!
Halloween Bat Pillow Tutorial
Want to make a Bat Pillow with me? Mom and Sis were kind enough to let me share it here with you so you can make one too! Get the free version of the pattern below.
You’ll need…
- 2/3 yard of cotton fabric (you can get away with 1/2 yard but you have to get real creative with the layout)
- 2 rectangles of cotton batting 33” x 12” each (This is a great way to use up some scraps if you are a quilter)
- Polyester stuffing
- Needle and thread
- Fabric Marker or Hera Marker
- Printed Bat pillow pattern. CLICK HERE to download and print the PDF from Google Drive
Cutting instructions...
1. Print the pattern, tape the 2 sheets together overlapping at the designated markings, and cut out the bat shape.
2. Fold the fabric to the width of the bat and position the pattern piece so it is aligned with the fold line of the pattern. Cut 2 Bat Pillow pieces.

3. Using one Bat Pillow piece as a pattern cut 2 Bat pillow pieces from the cotton batting. Alternatively you can pin your bat shapes, with right sides together, directly to the rectangles of batting and sew around the shape before you cut it out. You will see later on in the photos that I only included batting on the wings. This was a big mistake and made it harder to stuff. ***You will have a better result if you use batting across the whole bat.

4. If you've cut your batting out already, place the 2 fabric Bat pieces together with the Right sides facing each other. Place the 2 batting bat pieces on top of the stack and pin all around the shape as seen below.

Sewing the Bat Pillow...
5. Starting at the bottom center of the body, sew with a 3/8” seam allowance all the way around the shape. Yes, I like to sew the shape closed. It will mark the stitch lines for when you stitch it up later.

6. Using sharp pointed scissors, clip into each curve down to about 1/8 inch away from the stitch line. Be careful not to clip the stitches. Trim the excess fabric away from each point. Unpick 3 - 4 inches across the bottom of the Bat body.

7. Turn the Bat right side out. Use a chopstick or a BLUNT to pencil push out the corners. Make sure you have trimmed and clipped the curves enough so that they lay flat and smooth. You can give each curve a little stretch to help it lay flat. Iron around the edges of the bat.

Stuffing the Bat Pillow…
8. Using a your fingernail or a Hera marker, press and draw a crease on the fabric where the wing and body stitch lines should go. You could also use a fabric marker or a white colored pencil to mark the line. Use the printed pattern as a reference. You will see that each wing is divided into 3 sections.

9. Starting with the wing tips, stuff the outermost section of the wing. Increase the stitch length of your sewing machine to 3.5 - 4.5mm and sew along the first stitch line while holding down the stuffing with your hands. As you sew, stop every couple of inches with your needle in the 'down position' and use a chopstick to stuff a little more stuffing into that area in needed before you sew all the way to the point.


10. Continue to stuff and sew each wing section.

11. Mark and sew the body stitch lines.

12. Once the final lines are sewn around the body, stuff it firmly. Using a needle and thread sew the opening closed with a ladder stitch using the previously stitched lines as your guide to help maintain the original seam allowance. Add a little more stuffing if needed as you close it up.

13. And you are done!! Isn’t it sooo cute!

Make one for yourself or give it to a friend who needs a little Halloween Happiness. You can also use this pattern to make big felt bats to decorate outdoors with. Checkout this post for the details.

Make them now or "Pin it" for later!
For more Halloween fun join me on Instagram @bluesusanmakes If you make a bat pillow, tag me, I'd love to see it!
Happy Sewing!
Find more Halloween sewing ideas here...
- DIY Craft Felt Pom Poms
- Sew a Bumblebee costume
- DIY Rainbow Unicorn Costume
- How to Sew a Hooded Bat Cape
- Bat Scrunchies
- Big Felt Bats to hang outside

So cute! I am tempted to decorate my garage but we haven't had trick or treaters in a few years.
So cute! I am tempted to decorate my garage but we haven't had trick or treaters in a few years.
I’m curious, on the pattern from your ETSY shop, do you stuff the wings of those bats, because they look different. Trying to decide which pattern to use. Thanks
Hello! The whole bat has a couple of layers of batting sewn into the whole shape and then you just have to stuff the body. The wings look a little stuffed but it is just the batting inside. Hope that helps.