Sew a Soft Sunglasses Case using my free pattern! This easy sewing pattern uses foam stabilizer for extra cushion and a soft flannel fabric for interior to help protect your favorite 'sunnies' or 'readers'. Make one for yourself or give it as a gift.
Soft Sunglasses Case Features
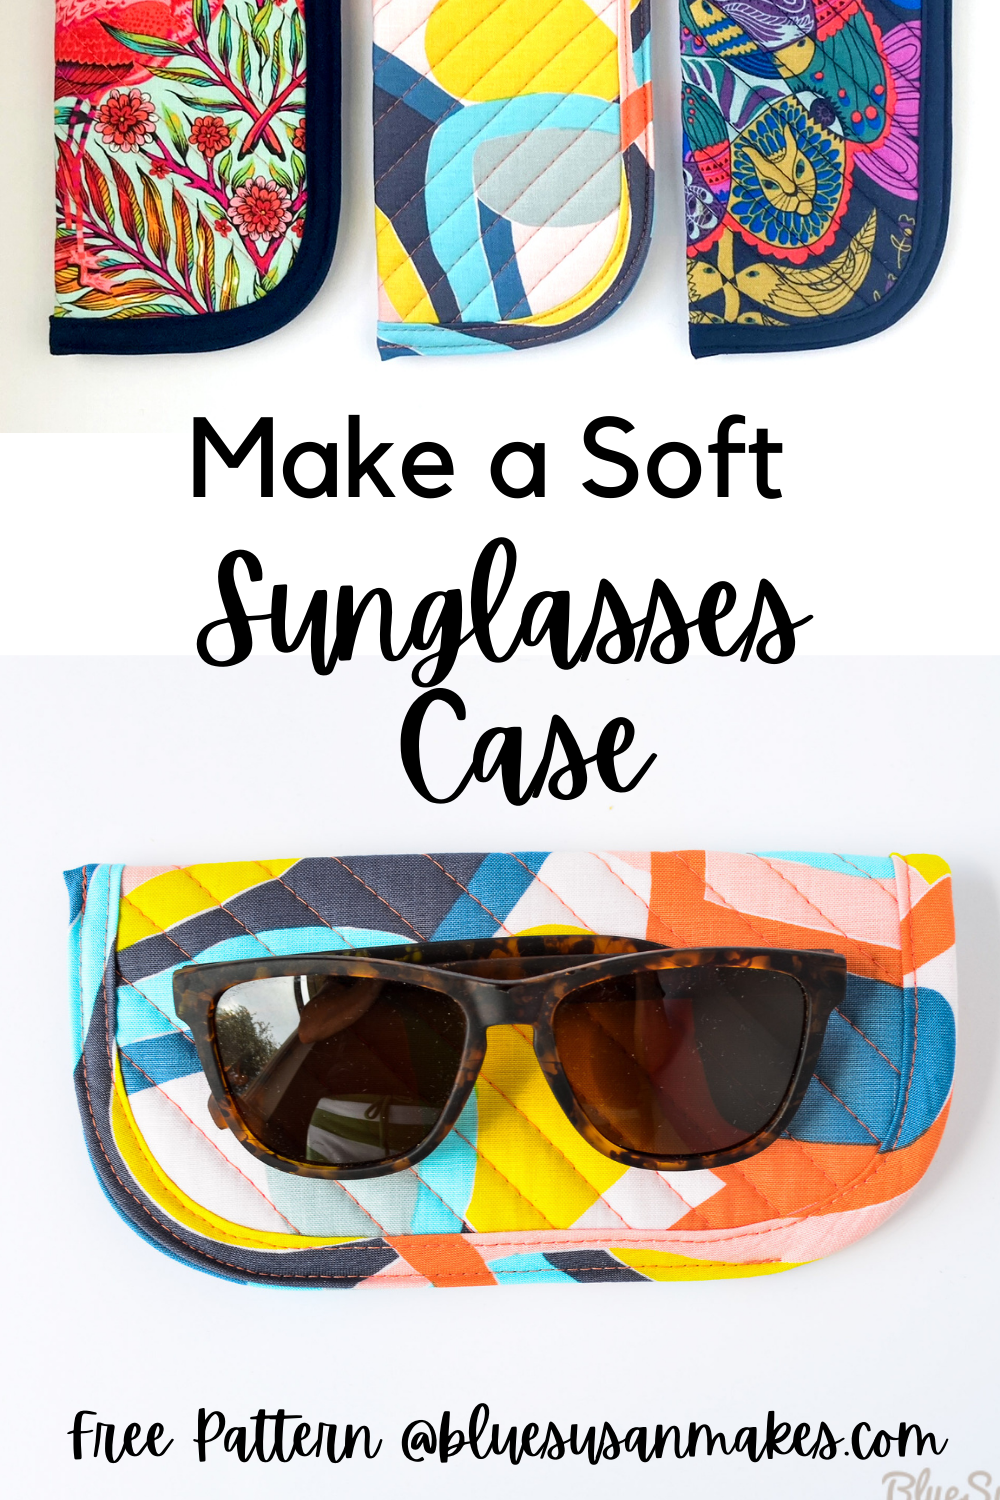
This Soft Sunglasses case finishes at about 7 1/2" x 3 3/4". It's a little roomy for my small Goodr sunglasses and it also fits my oversized sunglasses.

Choose your favorite fabric and color combinations to customize your Sunglasses case. Use beautiful fabrics with a matching binding or masculine fabrics with a contrasting binding, it's up to you.

It is quick and easy to use store bought bias tape but if you want your fabrics to match just right, making your own is a great option. It just takes a few extra steps to prepare. I'll show you how to do it.

Using fabric covered foam stabilizer makes this sunglasses case feel light weight and cushioned but you could substitute 2 layers of cotton batting instead. We will be quilting this project so if you have a dual feed foot or a walking foot you will want to pull it out for best results. In these instructions I teach you how to do straight line quilting in a diagonal pattern but feel free to quilt your Soft Sunglasses Case in any direction that you choose, or go wild with some free motion quilting.

Make it for gifting!
This pattern also comes with a free printable you can use to insert into your Soft Sunglasses Case to give as a gift. This printable is for personal use only according the terms of the free clip art I used.
Download the Sunglasses Case Gift Insert
More handmade gift ideas you may like...
- Make a Wristlet Keyfob
- Sew a Ruffled Heart Zipper Pouch
- Girlfriend Clutch Free Sewing Pattern
- Make a set of Reusable Cotton Rounds
How to Sew a Soft Sunglasses Case - Free Pattern
You'll need
- 8'' square of quilting cotton for the exterior - 1/4 yard if you are making a matching bias tape-
- 8'' square of cotton flannel for the lining - Quilting cotton is a good option if you don't have flannel
- 30 inches of Double fold bias tape - Make your own with my instructions or purchase ready made from a fabric store
- 8 inch square of fabric covered foam stabilizer, Soft and Stable, Pellon Flex Foam, or automotive headliner fabric
- Download and Print the Soft Sunglasses Case Template
- 25 mm Bias tape making tool - if making your own (optional)
- Dual feed foot or walking foot for your sewing machine - optional but recommended.
- Hera marker or table knife - for marking the quilt line
- Binding clips
Make Your Own Bias Tape
For this project with will be using bias tape finish the curved corners of the sunglasses case. It is important that we cut the strips 'on the bias', or diagonally across the fabric, so that the tape will lay flat around the curve.
1. Start by lining up a piece of fabric along a grid line on your cutting mat. Lay the acrylic ruler at a 45 degree angle across the fabric. Most mats have a 45 degree line to follow but you can also lay the ruler across the squares diagonally from corner to corner to get a 45 degree angle.
Make the first cut at the 45 degree angle. Then measure 2 inches from that cut line and cut again to get a 2'' bias strip. Continue to cut 2'' strips until you have enough to piece together about 30'' of bias tape.

2. Match up the strip ends at right angles with the right sides of the fabric together. Let the strips hang over each side about 1/4 inch. So the strips together where they intersect. Press the seam allowance open.

3. Fold the long edges toward the center leaving a small gap in the middle and press in place. OR...

4. Thread the strip through a bias tape maker. This little tool is helpful in keeping your bias tape a consistent width and saving your fingers from steam burns but you can get by without it.

Cutting
From the exterior fabric cut:
- 1 square using the Soft Sunglasses Case Template
From the lining fabric cut:
- 1 square using the Soft Sunglasses Case Template
From the foam stabilizer cut:
- 1 square using the Soft Sunglasses Case Template
From the Double fold Bias tape cut:
- about 30 inches and press the center fold open

Quilt the Sunglasses Case
1. Sandwich the foam stabilizer piece between the exterior and lining pieces. Make sure the wrong side of the fabric are facing the foam stabilizer.

2. Mark a quilting line at a diagonal by pressing a crease in the fabric with a hera marker or the dull side of table knife along a ruler placed at the diagonal. This will be the starting quilting line. Remember you can quilt in any direction you like. Pin the stack together in a few places. You can mark the rest of the quilting lines at this point if you wish but I'm using the width of the sewing machine foot as my guide.


3. Attach the walking foot to the machine or engage the dual feed if you have one, If you don't have a walking foot or dual feed foot it's ok, the fabrics might just shift a little as you are sewing. Increase the stitch length on the sewing machine to 3.5 or 4.0 mm and sew along the creased line.
Using the edge of the sewing machine foot as a reference, sew lines of quilting about 1/2 inch away from the center stitch line. Continue to sew each half inch until the piece is quilted.

4. Check both sides of the quilted piece and note any shifted fabric on the edges. Mine shifted about 1/8 inch in one corner. It won't matter though because about 3/8 inch of the edge will be covered by the binding. If the shifting is more than 3/8 inch then consider trimming the piece smaller before binding.

Attach the Bias Tape
5. Starting in the middle of one side and leaving a 2 inch tail to begin with, fold the bias tape evenly over the raw edges of the quilted piece. stretch the bias tape a little as you go around the curves to help it lay flat. Use binding clips to old the bias tape in place. Check both sides to make sure the bias tape lays evenly.

6. Find the place where the two ends meet. Fold the tape backward and make a crease where the two ends meet.

7. Trim the excess of about 1/4 inch from each fold line.

8. Fold the quilted piece in half and add an extra clip to hold the two sides together. Unfold the bias tape so that is all the way open. Match up the two short ends with right sides together and stitch a long the creased line.

9. Use your fingers to press the seam open.

10. Refold the original folds.

11. Lay the quilted piece flat and finish lining up the binding.

12. Change the stitch length on the machine to about 3.0 mm. With the exterior side up, starting at the binding seam line, stitch around the binding about 1/8'' away from the inner edge. Check the back side to make sure all the binding caught in the stiches. If a part didn't catch, just make sure to position it to the bottom of the case in the next step.


Finish the Sunglasses Case
13. Fold the piece in half and clip it together in a few places. Place a pin in one side about 1 1/2 inches down from the top edge. This marks where to start sewing the case closed.

14. Topstitch the case closed. Starting at the pin, topstitch around the curve and stop at the fold about 1/4'' away from the binding stitch line. Backstitch at the beginning and end.

And you are finished!
Leave a comment and let me know what you think! If you liked this tutorial share it with a sewing friend or Pin it for later! If you make a Sunglasses Case I'd love to see it!! Tag me @bluesusanmakes and use the hashtags #DIYSoftSunglassesCase #bluesusanmakes.

Connect with me on Facebook or Instagram and let me know if you enjoyed this sewing tutorial.
Happy Sewing!
If you like this pattern, check out these other handmade gifts ideas...
- Make a Wristlet Keyfob
- Sew a Ruffled Heart Zipper Pouch
- Girlfriend Clutch Free Sewing Pattern
- Make a cute Sunrise Zipper Pouch