
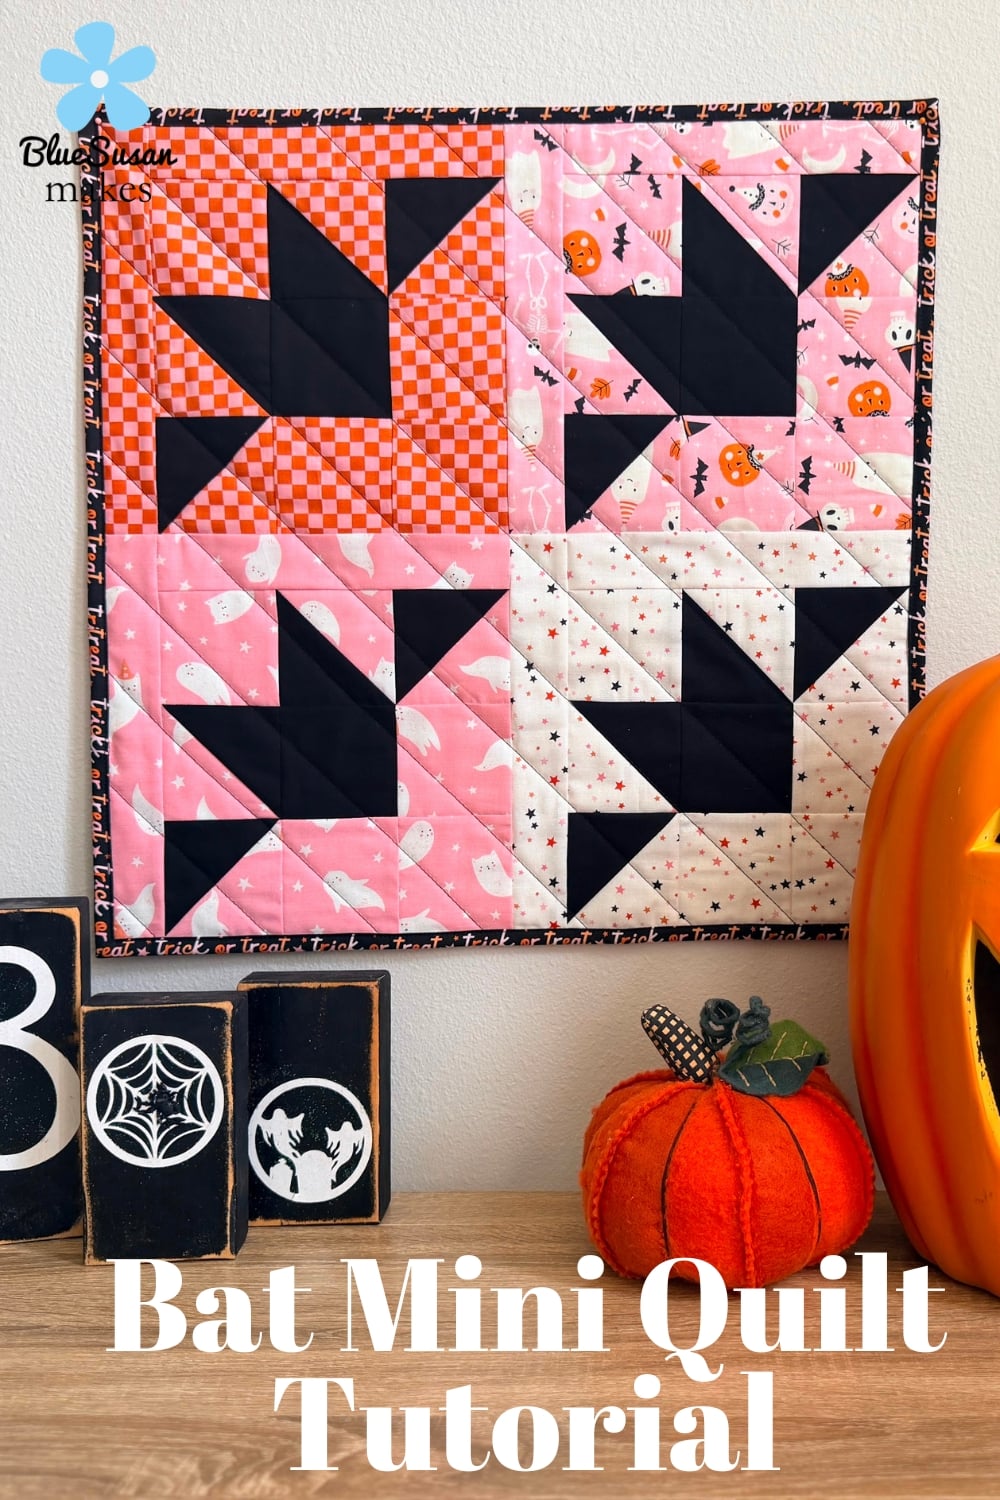
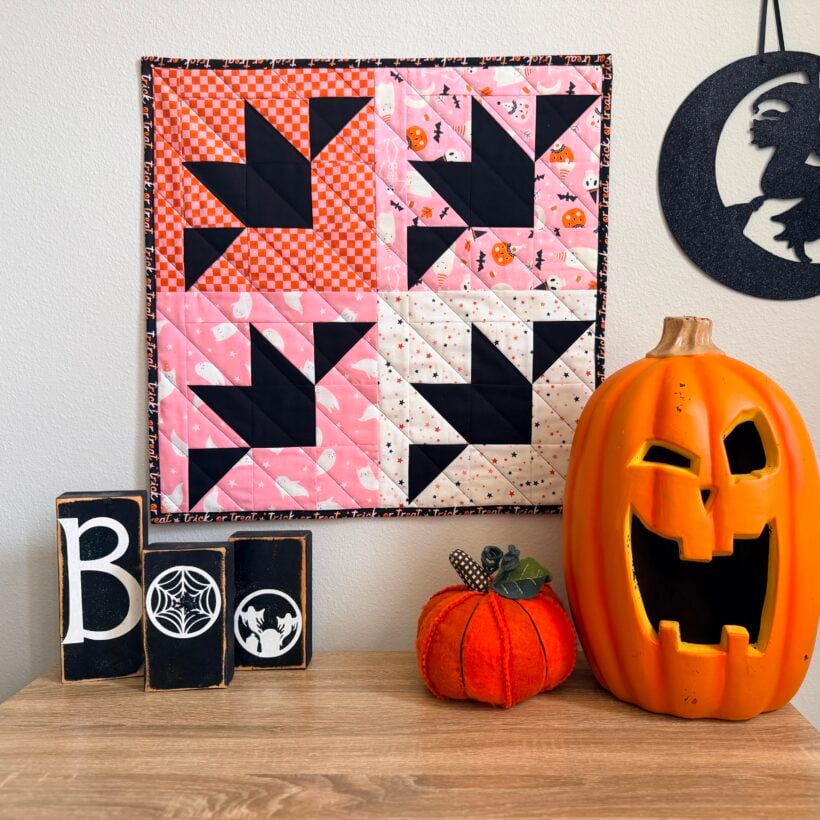
Halloween Bat Mini Quilt Tutorial
Make a beginner friendly Halloween Bat Mini Quilt that you can hang up for the season or use as a table topper. It's a fun Halloween sewing project to make and use up some of that cute Halloween fabric you've collected!
Table of Contents
Why You'll Love This Halloween Bat Quilt
This Bat mini quilt is a small, beginner-friendly project you can sew up in a couple of afternoons. It's a quick Halloween sewing project that is great for decorating, perfect for cutting into that cute Halloween fabric, and makes a fun wall hanging, table topper, or gift!
It uses four 11" Bat quilt blocks made up of simple patchwork and a few Half Square Triangles (HSTs). If this is your first time sewing with HSTs that's okay, I'll walk you through it. They are easier than you think!
Finished Dimensions
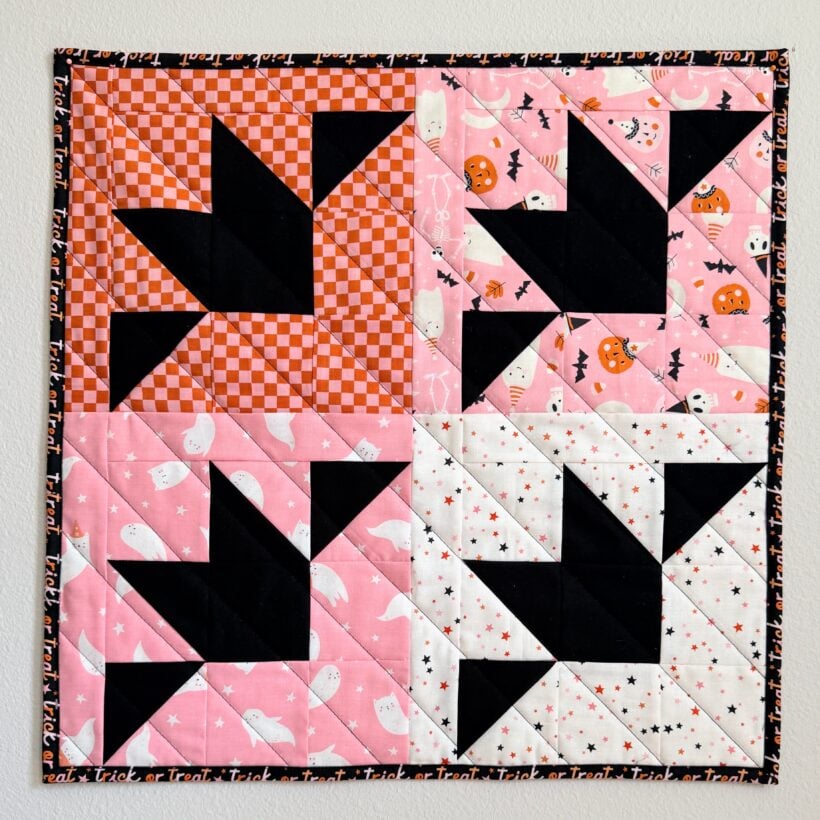
The finished size of the Bat Mini Quilt in this tutorial is 21.5" x 21.5" but obviously you can make as many bat quilt blocks as you'd like and make a bigger quilt for Halloween! You can also play with the layout to make the bats fly however you'd like.
Materials You'll Need
- 1/8 yd of 4 different medium/light colored Halloween prints quilting cotton for the background fabrics
- 1/4 yd solid black fabric for the Bat shape
- 1/4 yd dark accent fabric for the binding
- 22 1/2" x 22 1/2" square of cotton batting
- 2/3 yard of Halloween print quilting cotton for the backing
And of course you'll need all the regular quilting supplies you probably already have on hand. (I've linked my favorites below)
- Rotary cutter and ruler
- Cutting mat
- Iron this one's the best for quilting
- Thread
- Sewing machine
- Binding clips
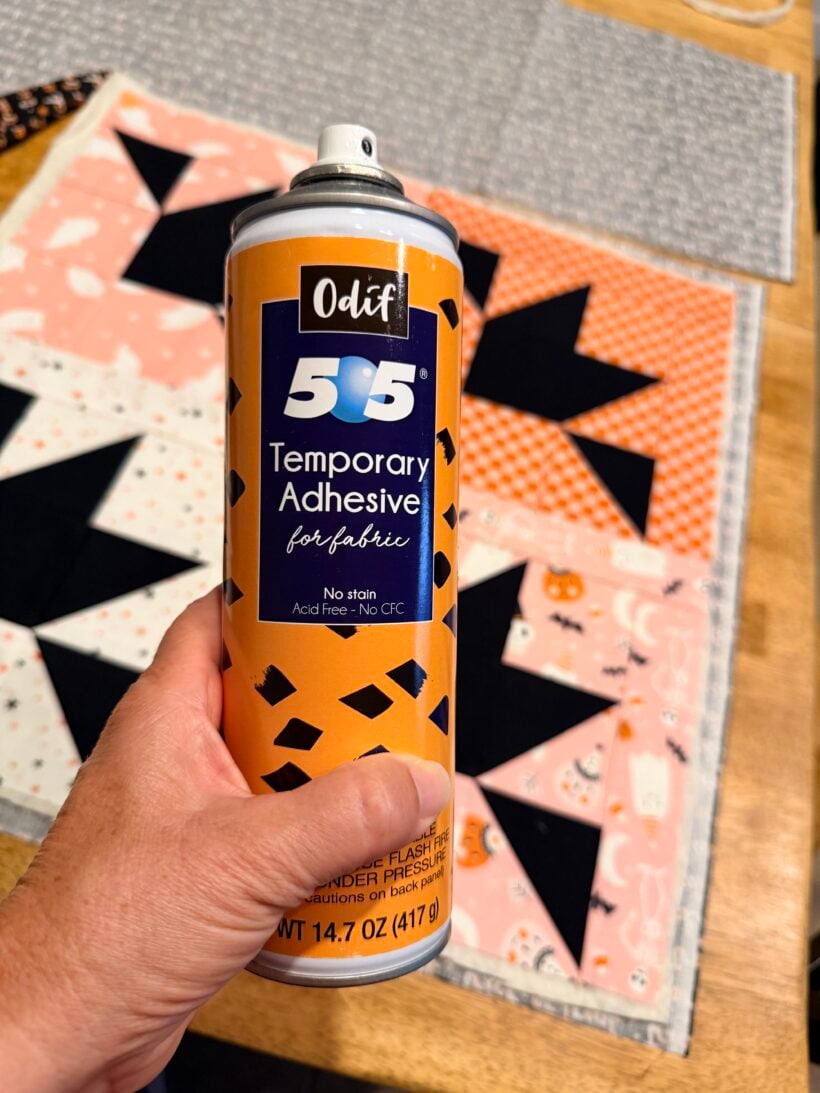
- 505 Adhesive Spray or pins for basting
Fabric Choices for a Halloween Bat Quilt
For this project, it is easiest to choose fabric from the same collection. Make sure you grab the fabrics that are medium to light colored so that the black bat shape pops. For my quilt I used 3 fabrics that were designed together (Hey Pumpkin by My Minds Eye for Riley Blake)plus a somewhat matching fabric that I found at my local quilt shop. Sometimes putting fabric together that is not from the same collection is tricky. I would suggest that if you are using prints from different collections, just make sure that the colors are repeated a couple of times to help it look cohesive. For example, in my quilt each print has 1 or 2 of these 3 colors: orange, pink, and white
Cutting the Fabric
Cut the Background Pieces
From each Halloween background print fabric cut:
- 2 squares 4" x 4"
- 4 squares 3 1/2" x 3 1/2"
- 1 strip 2" x 11"
- 1 strip 2" x 9 1/2"
Cutting tip: If using yardage for the background fabric, first cut one width of fabric strip that is 4" wide. Then cut the two 4" squares from it. Then subcut the leftover fabric to get the remaining pieces in the order listed above.
Cut the Bat Pieces
From the Solid Black fabric cut:
- 8 squares 4" x 4"
- 4 squares 3 1/2" x 3 1/2"
This will be enough for all 4 bat blocks
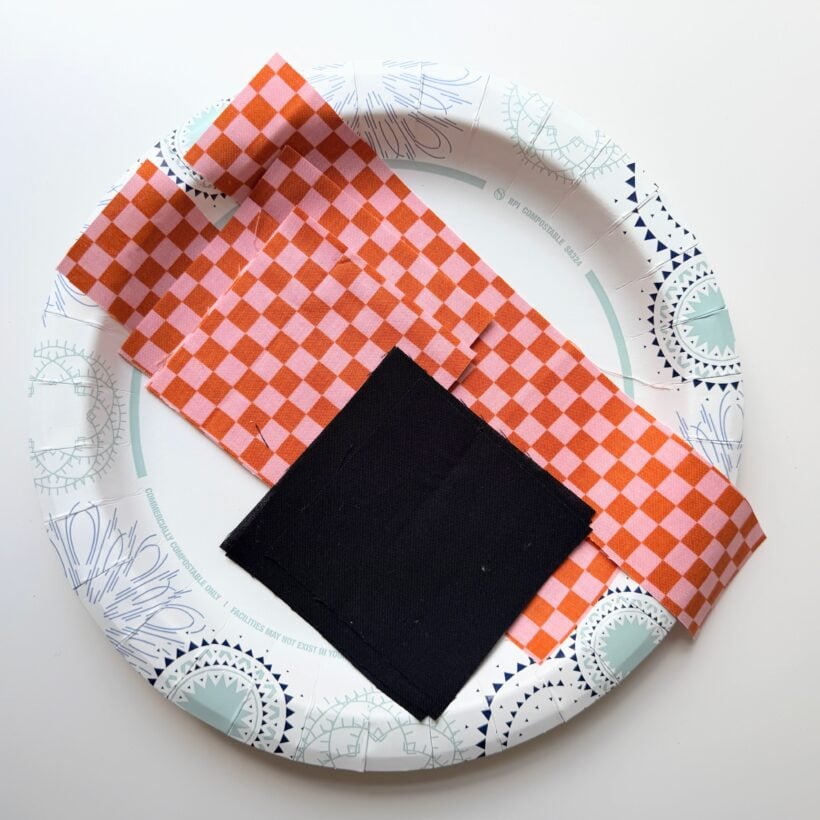
Organization tip: Stack up all the pieces for one block and place them on a paper plate, then stack the plates. That way you can grab a plate and sew a block throughout the day as you have time.
How to Make the Halloween Bat Mini Quilt
Make the Half Square Triangle blocks
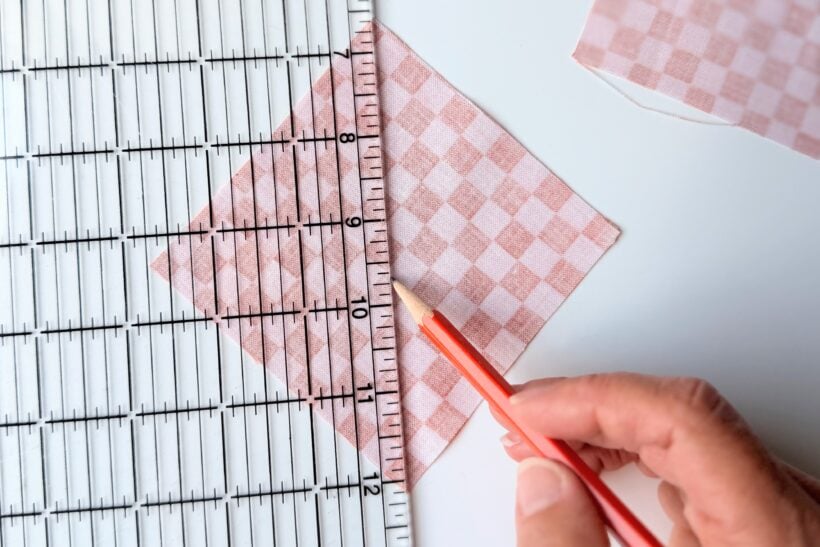
1. Each Bat block has 4 half square triangle square. To make them, take the two Halloween print 4" squares and use a pencil to draw a diagonal line from corner to corner on the wrong side of each square.
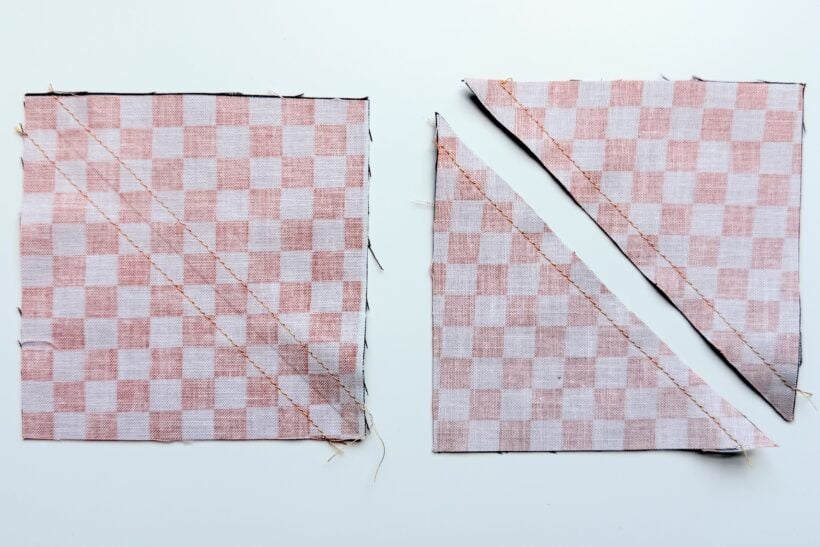
2. Place each one on top of a black 4" square. Sew along both sides of the drawn line a "scant" 1/4 inch away (slightly less than a quarter inch) from the drawn line. Cut along the drawn line.
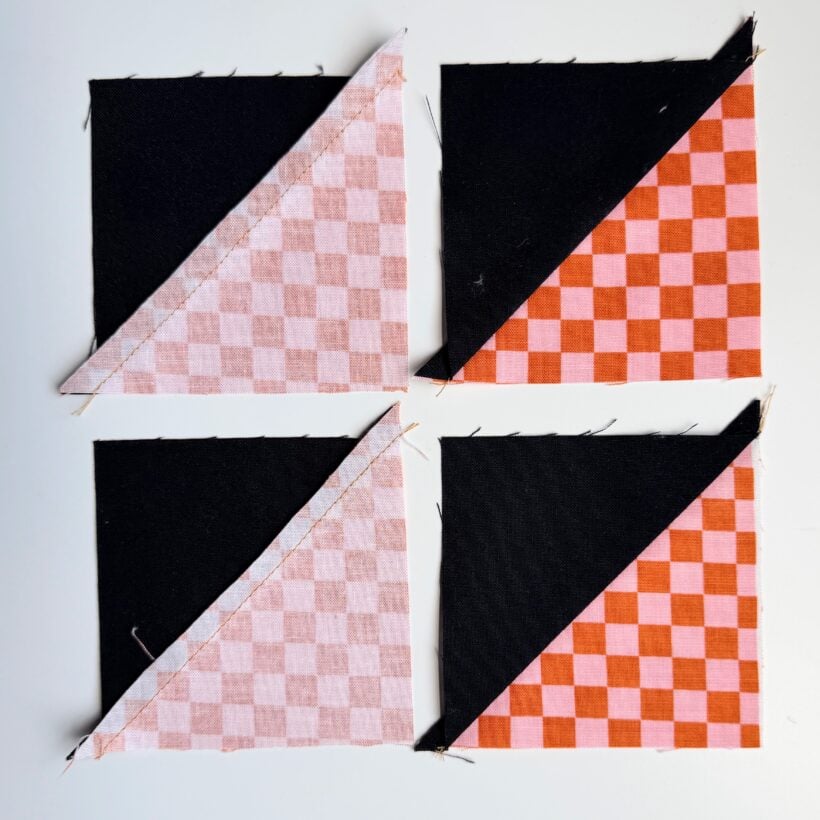
3. Open the triangles to make a square and press the seam allowance toward the darker fabric.
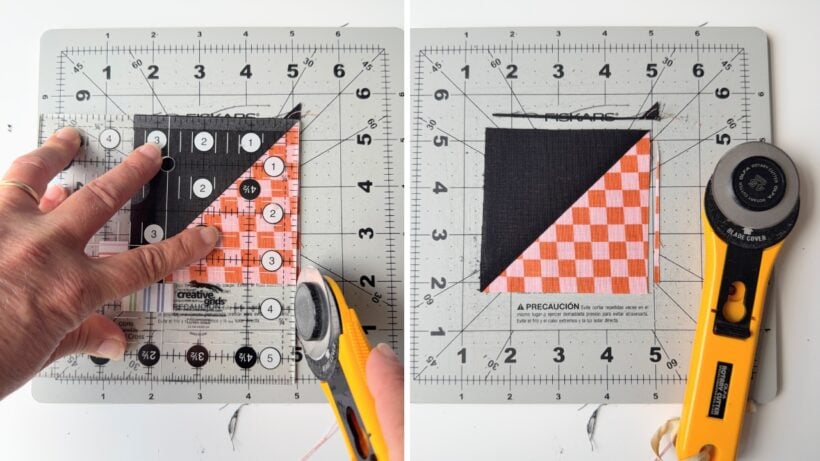
4. Trim the square down to be exactly 3 1/5" square. Place the diagonal line of an acrylic ruler along the seam line. Trim two sides then rotate the ruler to trim the other two sides. I like to use this Creative grids ruler and a small rotating cutting mat.
Make the Bat Blocks
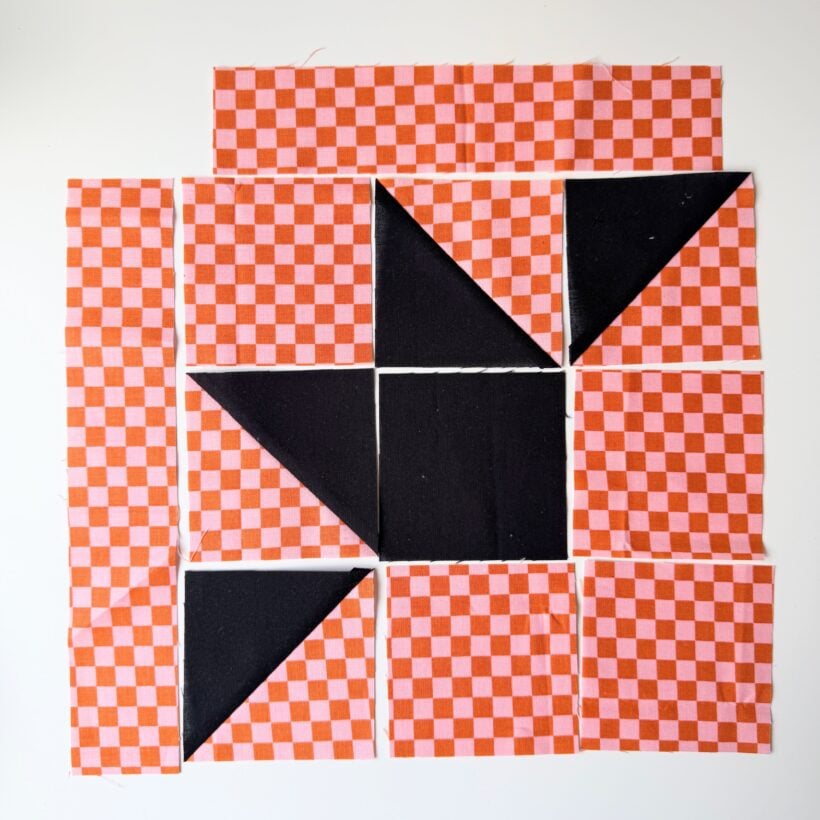
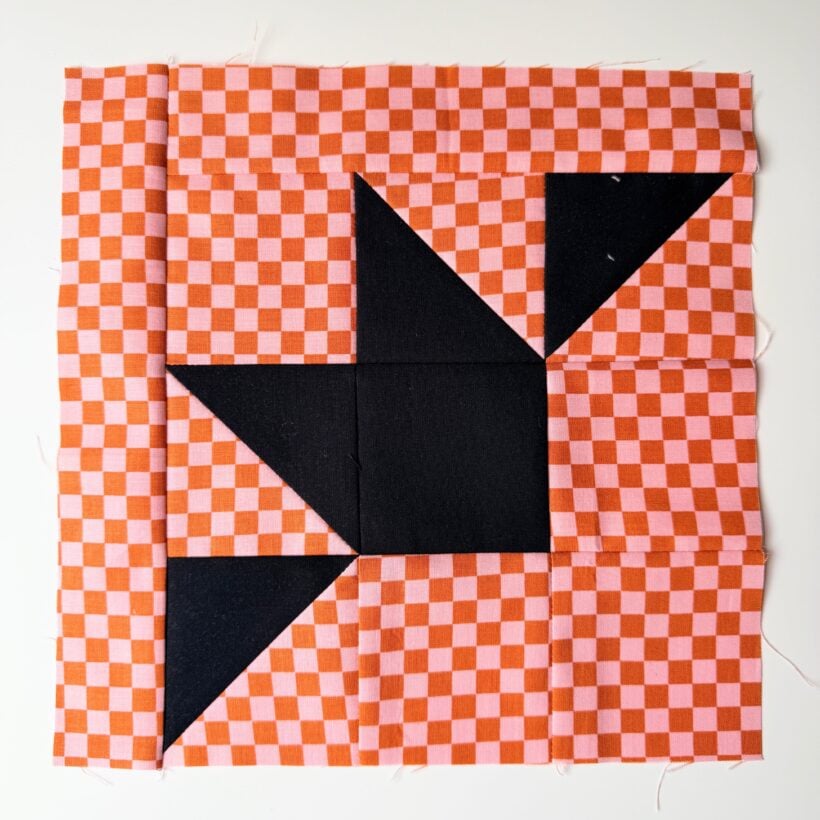
5. Layout the squares according to the photo below.
6. First, sew the 9-patch by piecing together each row.
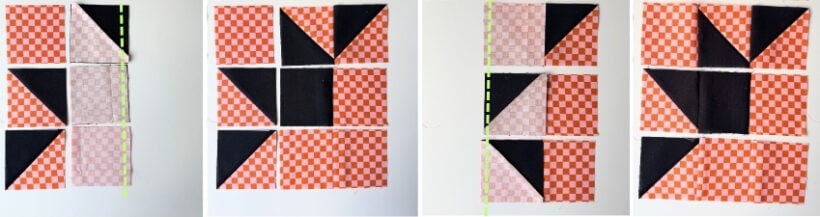
7. Then sew the rows together.
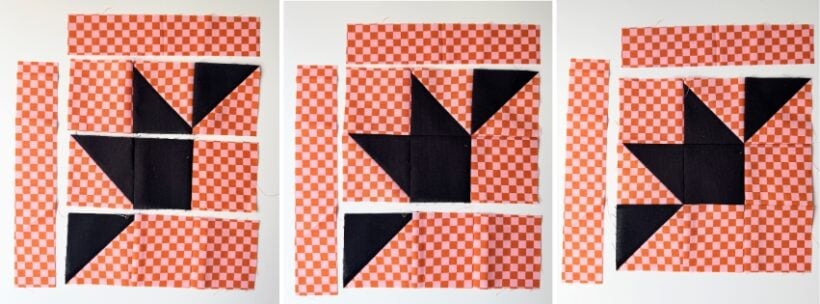
8. Next, sew the 9 1/5" strip to the top edge.
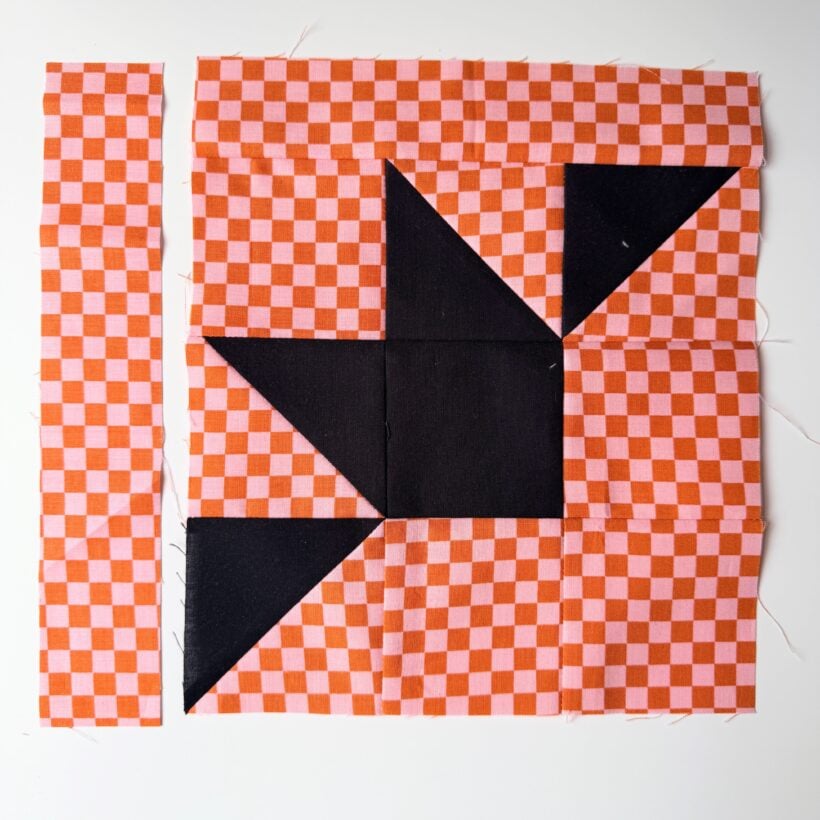
9. Then sew the 11" strip to the left side. And your block is finished!
Sew the Bat Quilt Blocks Together
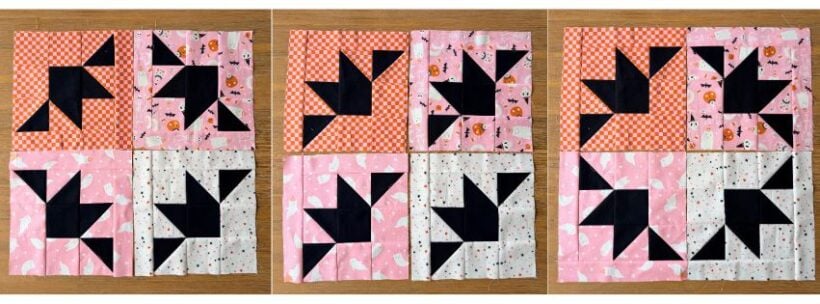
10. Now that you have each Bat Blocks sewn, it's time to arrange them how you like. Here are some options. I chose to make mine into a wall quilt and am using the layout in the center. I like it because the bats look like they are taking flight!
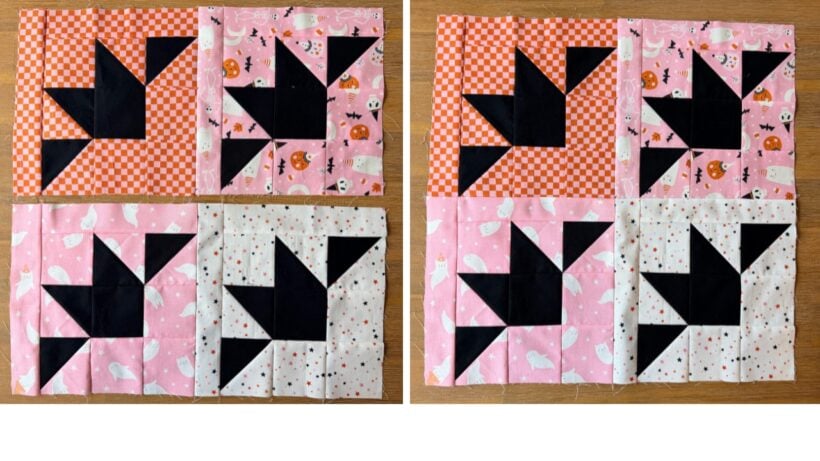
11. Once you decide the layout, piece the 4 squares together. Make sure to press the mini quilt top well.
Make the Quilt Sandwich
12. Now that your top is done its time to quilt it. First, we have to make a quilt sandwich. Cut out a piece of batting that is slightly bigger than your quilt top. Then layer the top and the batting on top of the wrong side of the backing fabric. Cut the backing fabric a little bigger than the batting piece.
13. Baste all the layers together using pins or my favorite Odif 505 Basting Spray.
Quilting the Bat Mini Quilt
14. Choose a thread color. I find it hard to choose a thread color when high contrast colors, like black, are in a quilt top. To choose a thread color, I usually lay a bunch of options down over the quilt top to see what I like. Sometimes I like the thread color to pop, but this time I wanted the thread to fade into the bat, so I chose black thread.
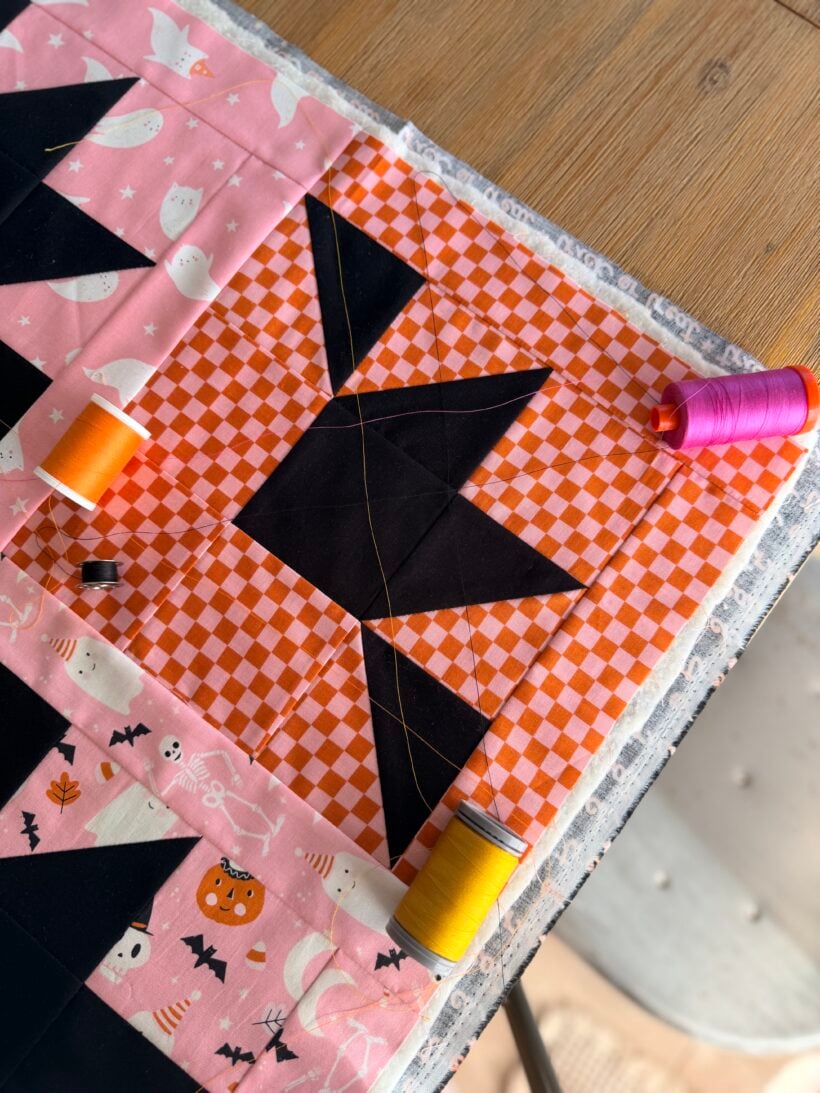
15. Quilt the Bat Mini Quilt as desired. You can quilt this mini quilt using straight-lines, a grid, free motion meandering, or stitch in the ditch around the bats. I originally planned on quilting a grid but I liked how it looked after I finished the first direction, so I left it simple straight line quilting every 2 inches. I used a seam guide to help my lines stay straight and evenly spaced. See my post How to Use a Seam Guide for more information if you are interested.

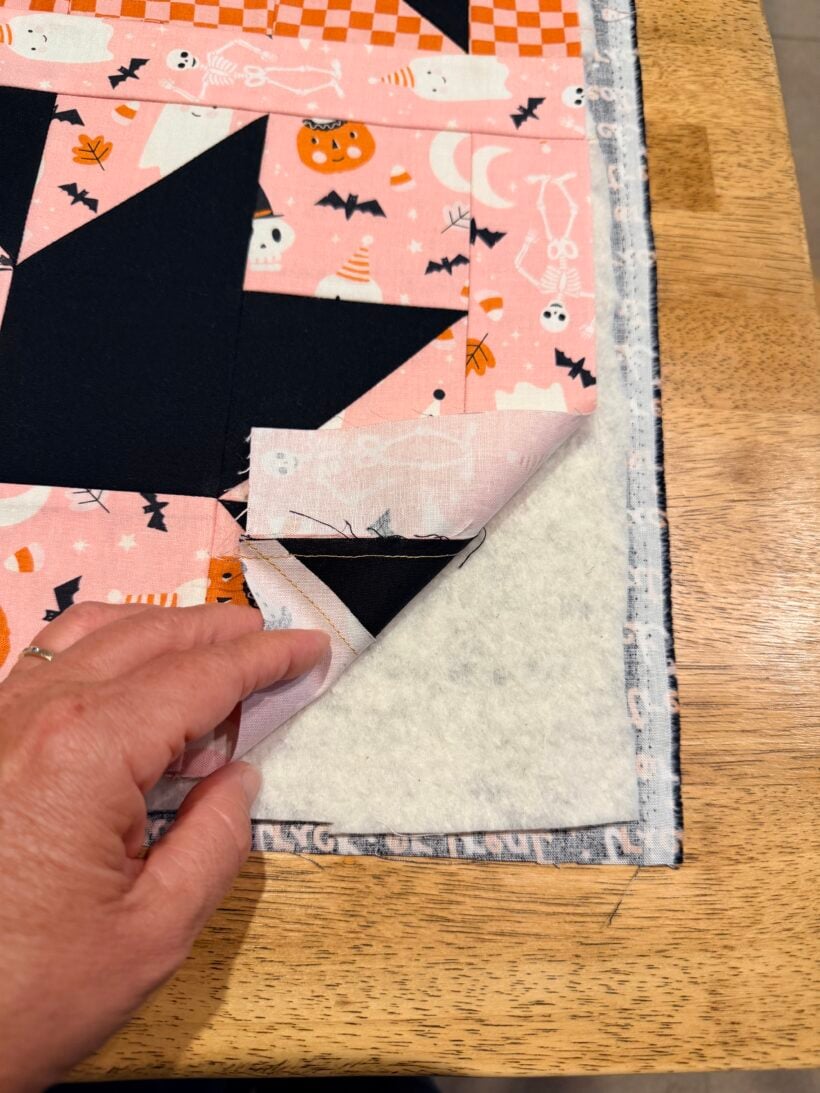
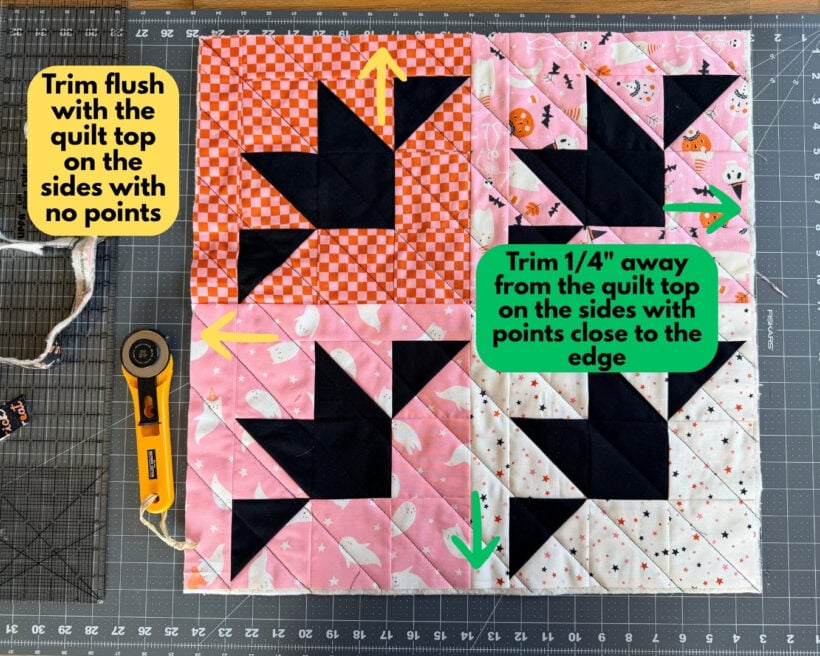
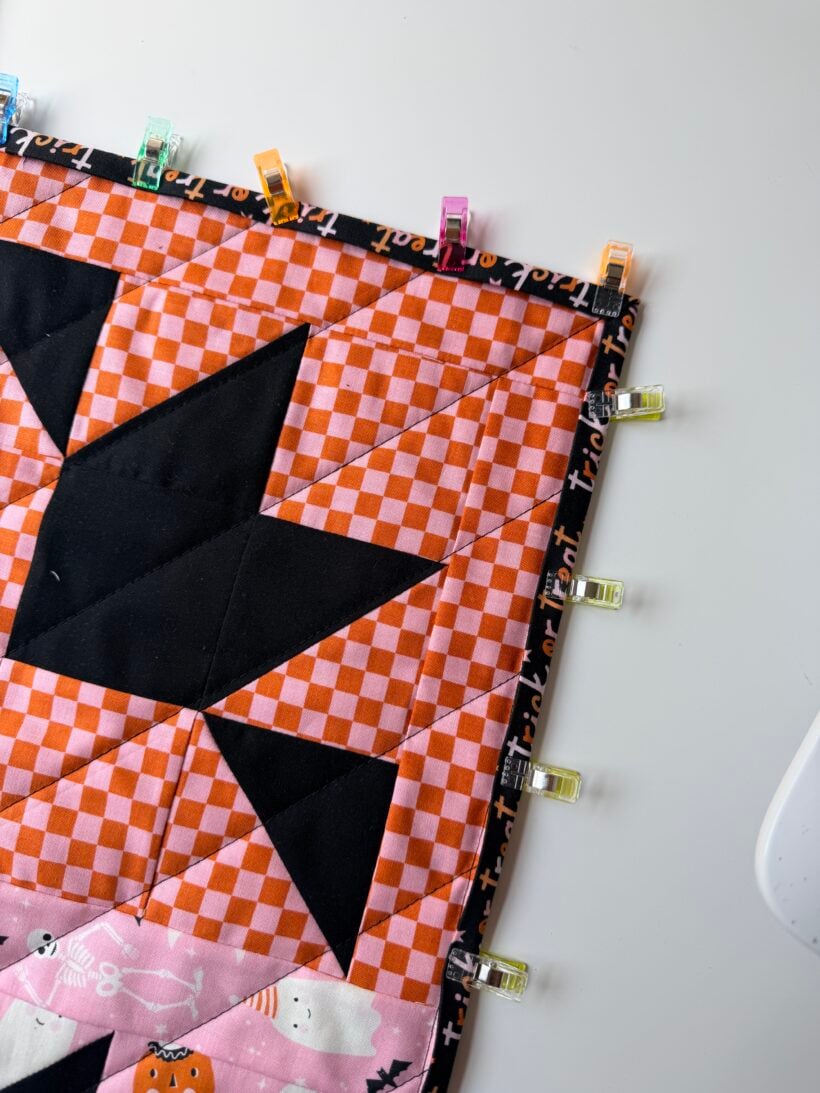
16. After you are finished quilting, trim the sides of the quilt using a rotary cutter and mat. You may have noticed the points of the HSTs are dangerously close to the edge and will likely get swallowed up in the binding. To avoid this, trim the quilt sandwich so that the batting and backing are about 1/4" away from quilt top on the sides that are close to the points.
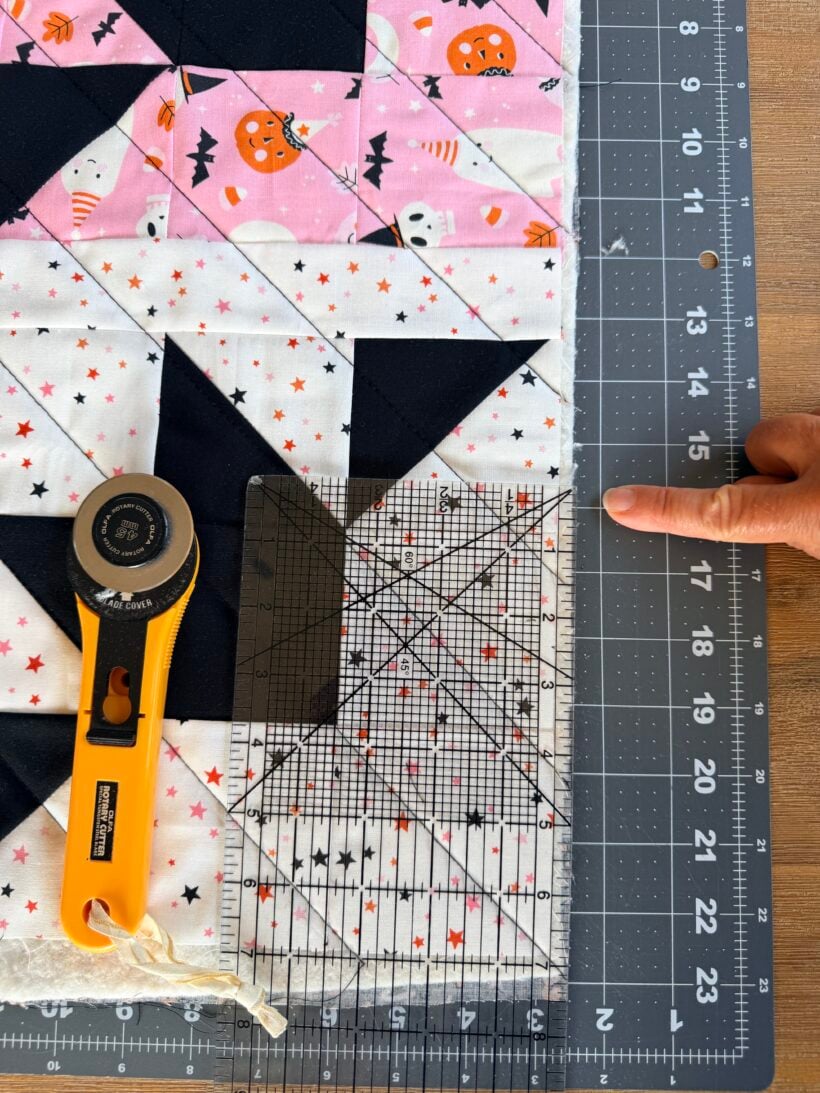
Here is a close up photo of the extra quarter inch on the side. Just line up the ruler so that the quarter inch line is on the edge of the quilt top. Then trim the batting and backing so they are 1/4" bigger than the quilt top.
Bind the Mini Quilt
1. You'll need about 46 inches of binding to bind this quilt. Sew the binding on as desired. You can find full, step-by-step binding instructions in my post How to Bind a Quilt. For my binding I used strip 2 1/2" folded in half lengthwise and I stitched it to the back side first using a scant 3/8" seam.
And you are done!! What do you think?
Halloween Bat Mini Quilt Display Ideas
Where will you display it? It would look so cute over a shelf or desk display. Use it for a table topper, or add it to your seasonal mini quilt collection in your sewing room. You can even roll it up and tie it with a ribbon to make a fun gift.
One more tip: I used sewing pins to hang mini quilt on the wall. They work great and they don't leave a visible hole when you pull them out. Of course you can't use them for sewing again though. 🙂
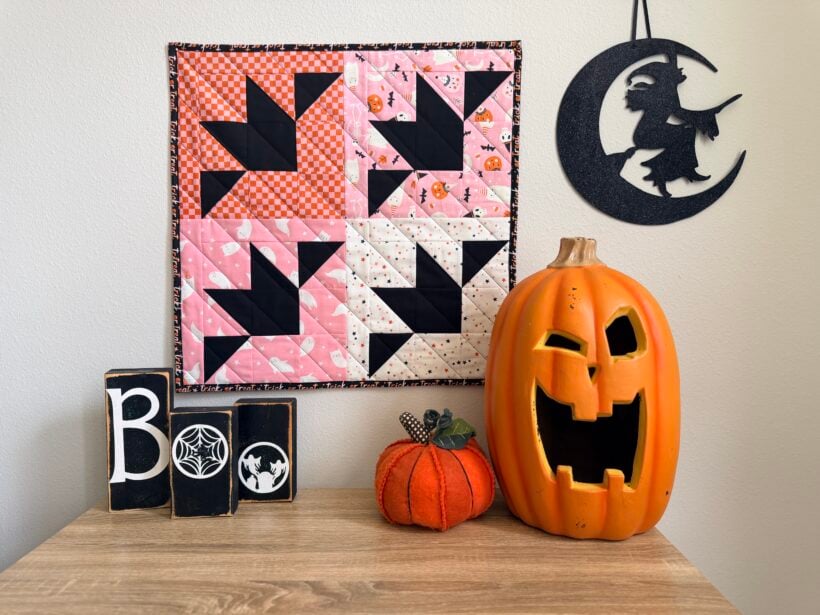
I hope you enjoyed making this easy Halloween quilt! Leave a comment below and tag me @bluesusanmakes on Instagram or Facebook.
More Halloween Sewing Projects
- Halloween Bats Stuffie Pattern
- Easy Trick or Treat Bags
- Sew a Halloween Tie
- Make Big Felt Bats for Outdoor Halloween Decor
- DIY Costumes


What a fun tutorial! I love that you gave a cutting tip for the background. That certainly is appreciated when figuring out fabric choices! So ready to get batty! Oh…and thank you for showing the different layouts. It was like you were already reading my mind.
You are welcome! I want to make a whole quilt now! Just waiting for some more Halloween fabric to get here 🙂
The pattern calls for 8 4×4 squares, but you only need 4… am I missing something? The block was super easy and fun to make!
Hi Sarah! I’m so glad you made some bat blocks! The 8 4×4 squares I think you are referring to are the black squares for the HTS. 8 is enough for all 4 blocks. You need 2 4×4 black squares for each block, thus 8 altogether. Let me know if I interpreted your comment wrong. I definitely want to fix it if there is an error. I added a sentence to clarify in the black fabric cutting section.